
A number of years in the past, I wrote a tutorial concerning the Lottie library. A reader requested if he may use the library in SwiftUI tasks. So, on this tutorial, let’s revisit this wonderful library and see how we will use it in SwiftUI tasks.
Lottie is a cell library for Android and iOS that natively renders vector based mostly animations and artwork in realtime with minimal code.
If that is the very first time you heard of Lottie, Lottie is an iOS, macOS, Android, and React Native library, developed by Airbnb, that renders After Results animations in any native apps. Animations are exported as JSON information by means of an open-source After Results extension known as Bodymovin. Lottie masses the animation knowledge in JSON format, and renders the animation in actual time.
The cool factor about this library is that you would be able to import the Lottie animation straight into your Xcode undertaking. With just a few strains of code, you may make the animation work in your apps. You’ll perceive what I imply shortly.
The place can you discover Lottie Animations?
You may create your individual animation utilizing After Results and export it as a JSON file. Nonetheless, if you’re like me and don’t have any concepts about After Results, you may take a look at the next web sites to obtain some free / paid animations.
LottieFiles
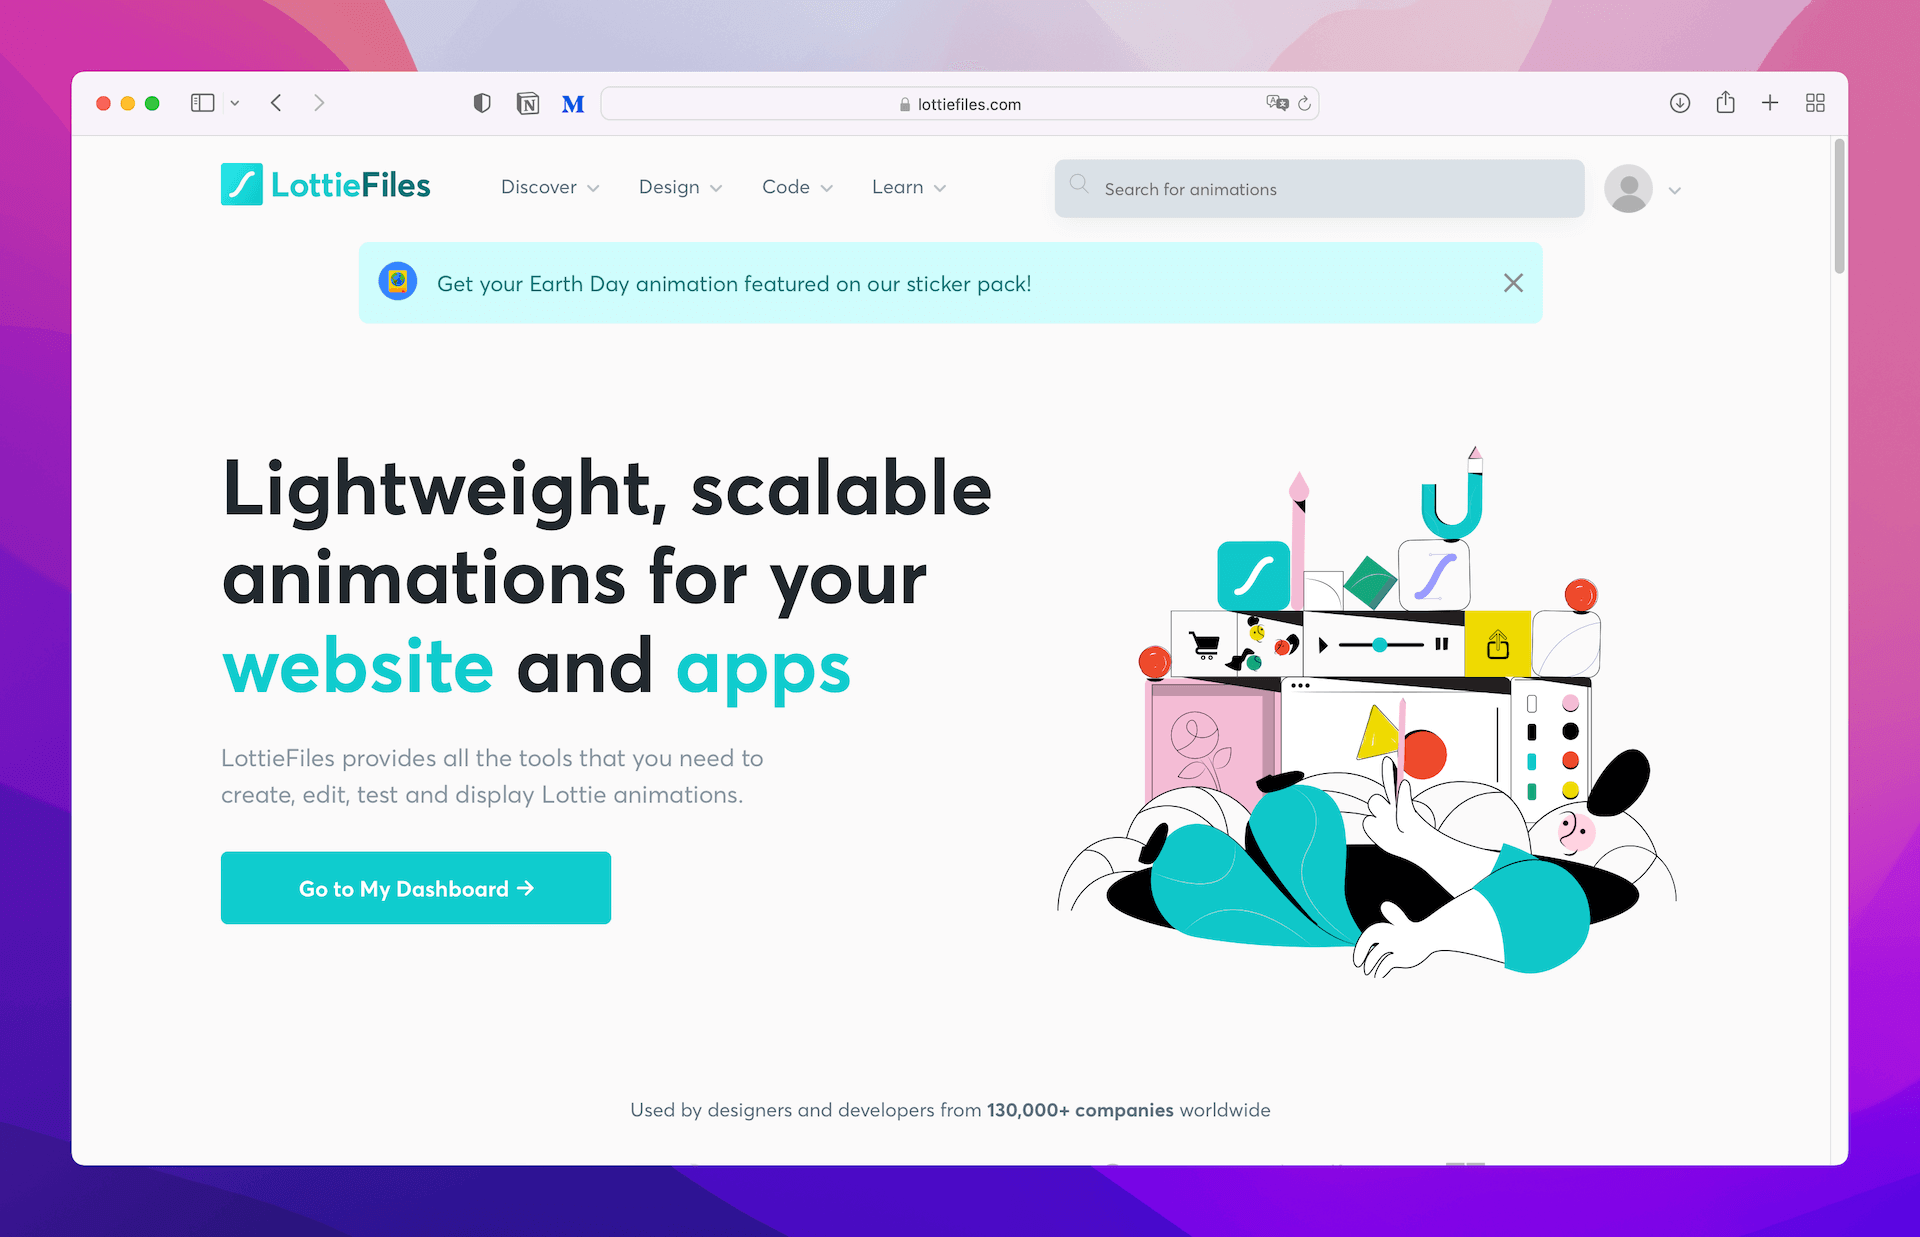
Web site: https://lottiefiles.com
Drawer
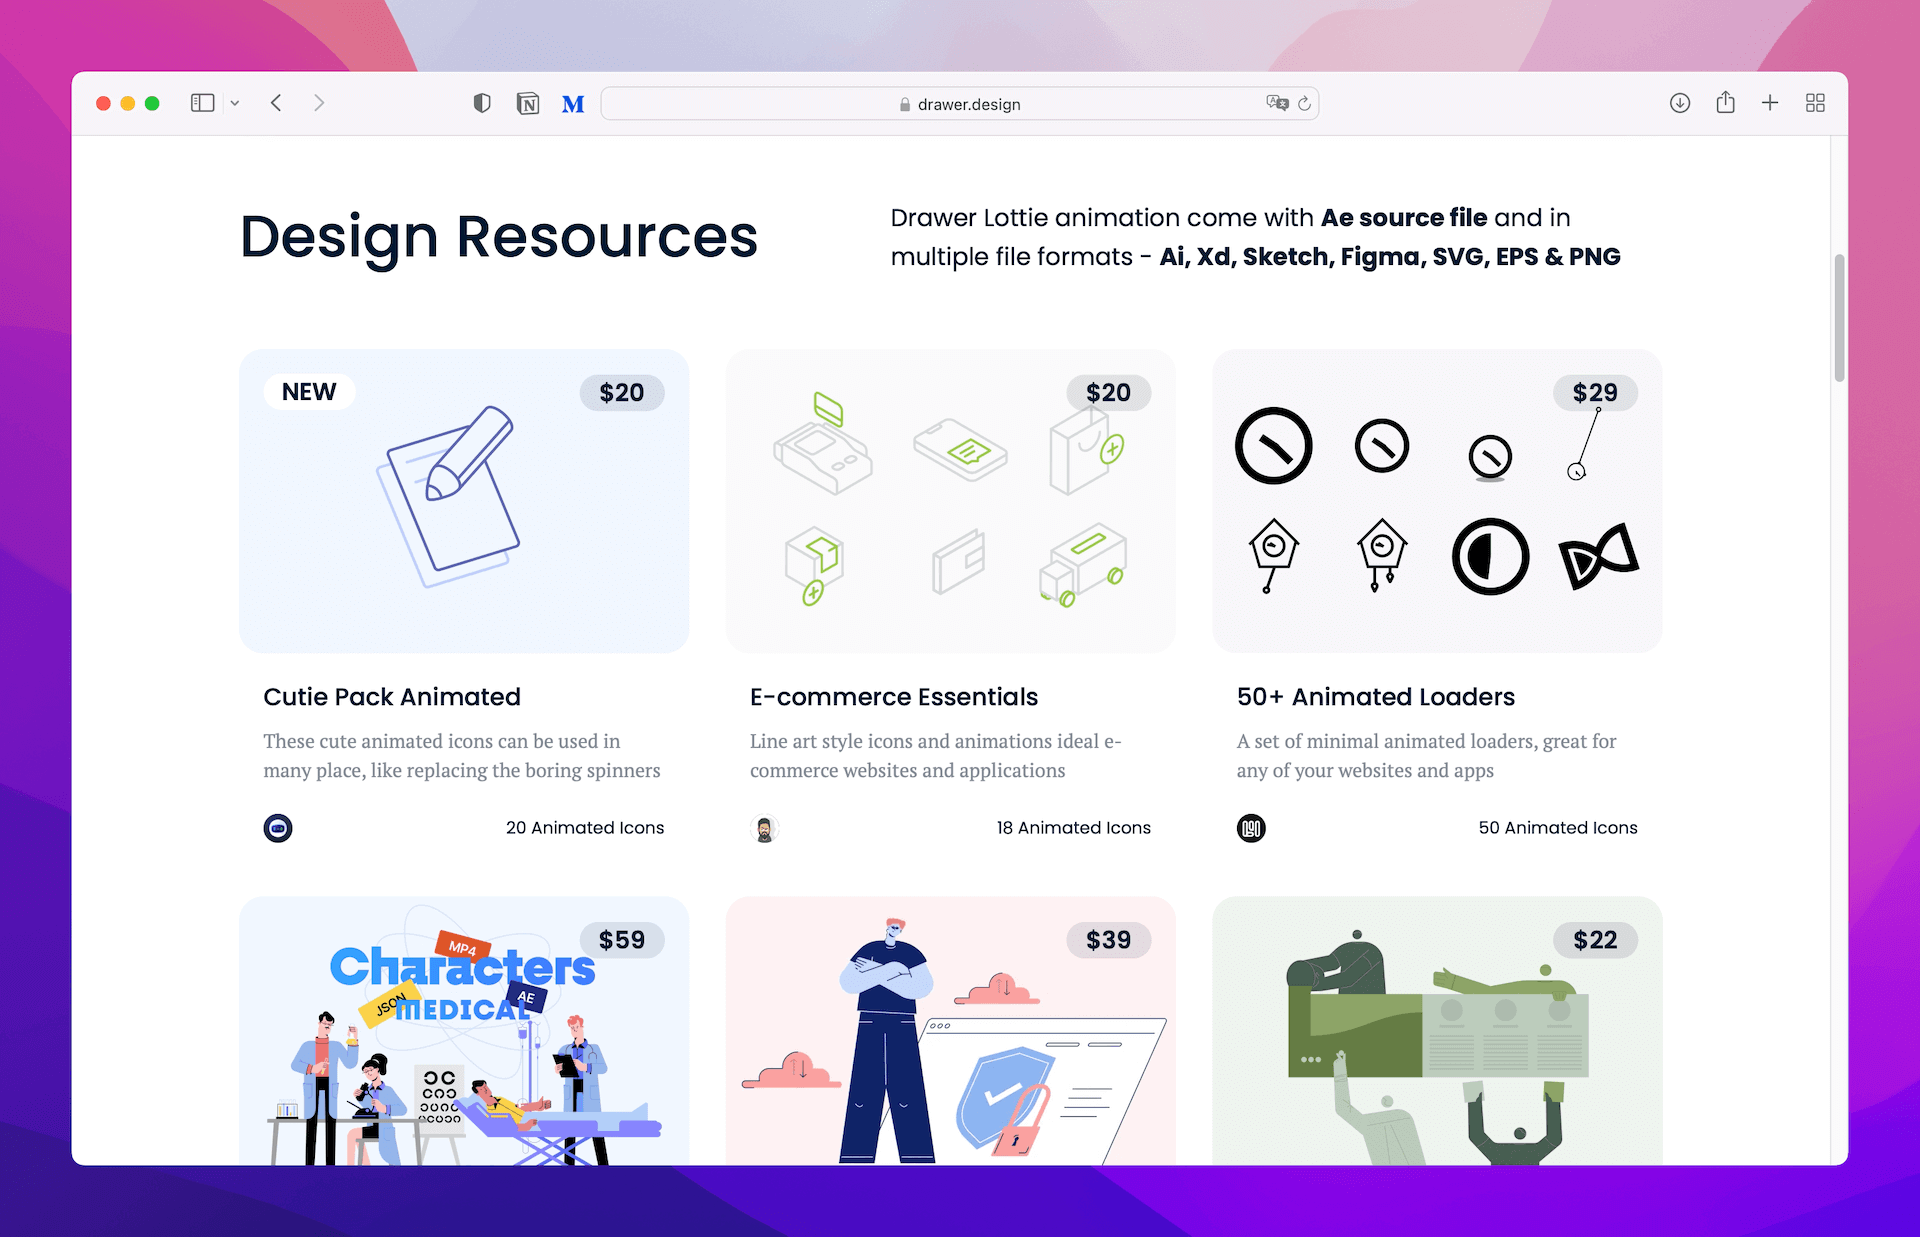
Web site: https://drawer.design
Including the Lottie Library with Swift Package deal Supervisor
Lottie is an open-sourced undertaking obtainable on GitHub. You may obtain the library at https://github.com/airbnb/lottie-ios and add it to your Xcode undertaking manually. Having that stated, the simplest method so as to add the library is by utilizing Swift Package deal Supervisor.
Assuming you’ve already created a SwiftUI undertaking in Xcode, go as much as the Xcode menu and select File > Add Packages…. Then paste the repository URL (i.e. https://github.com/airbnb/lottie-ios) within the URL discipline:
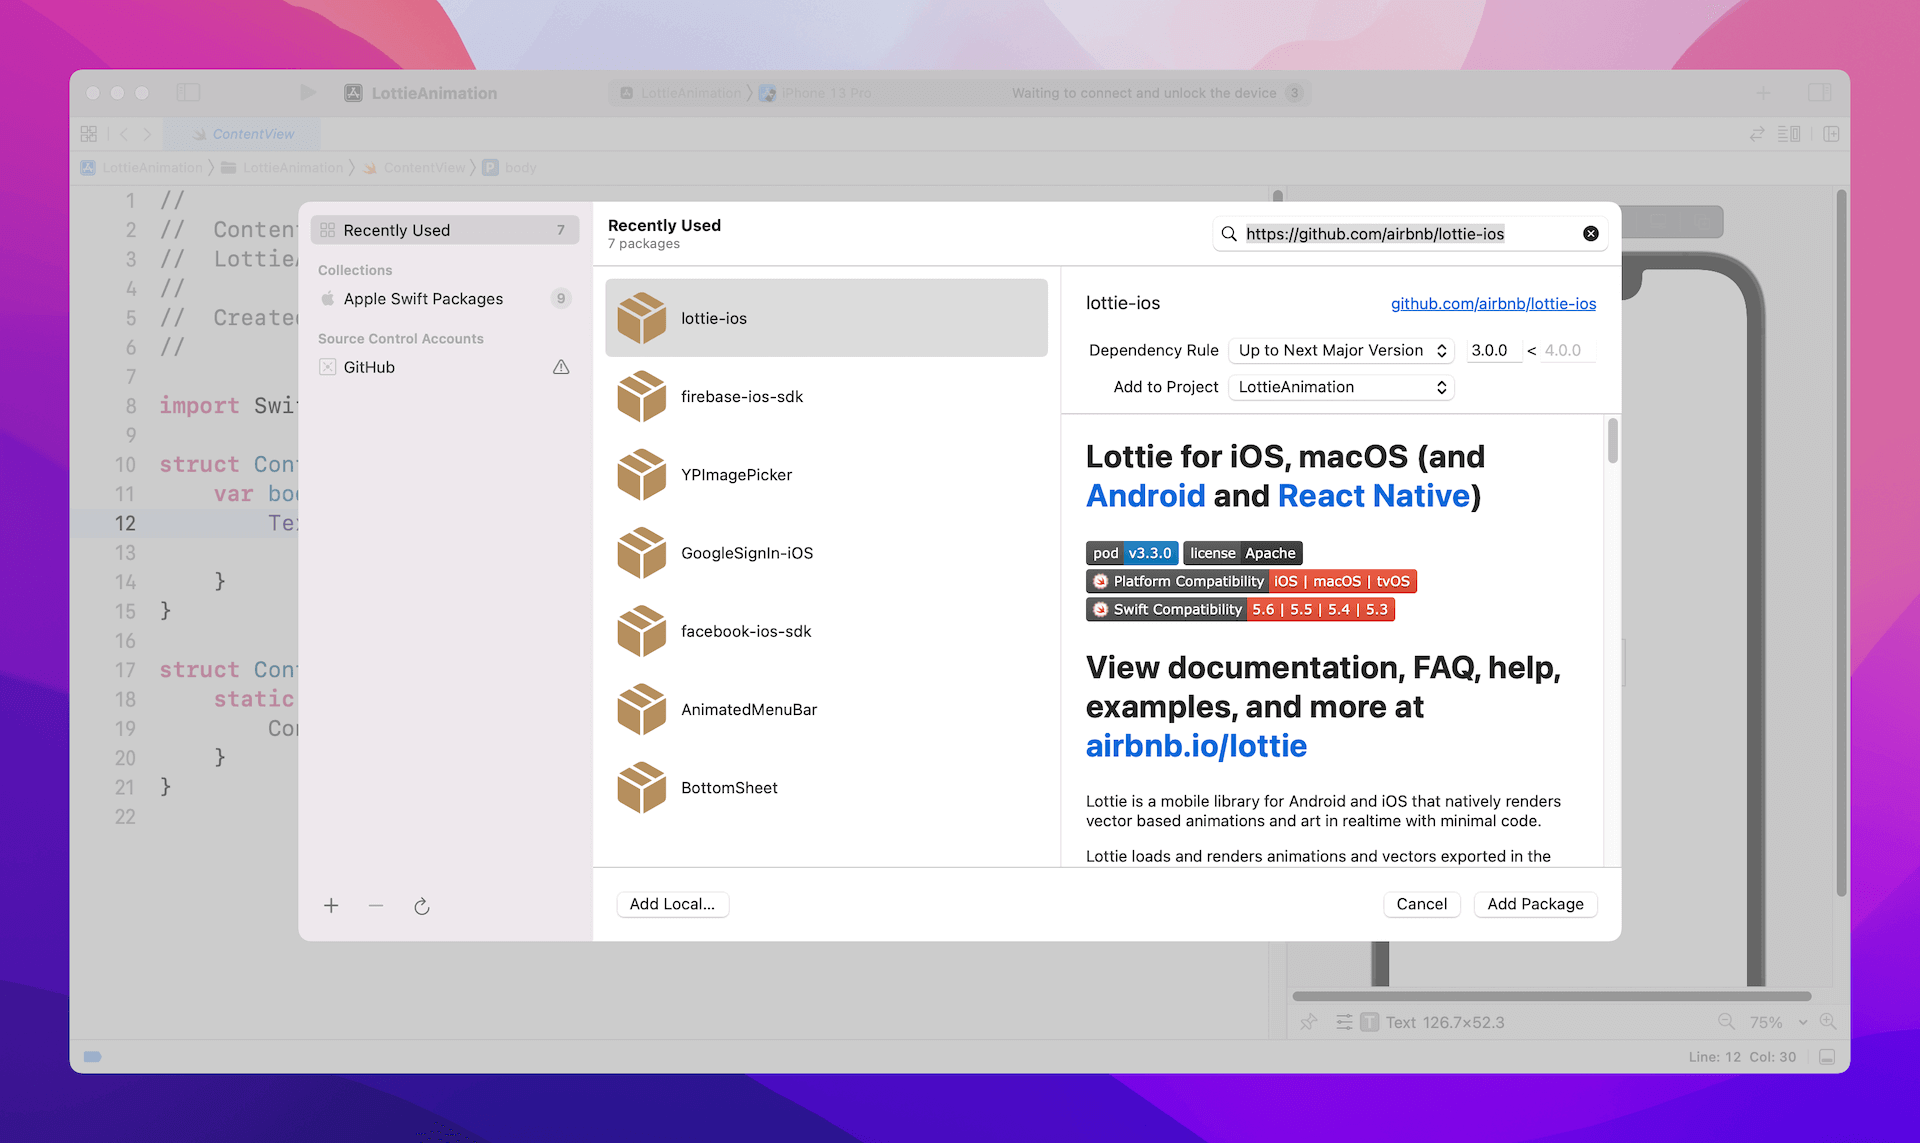
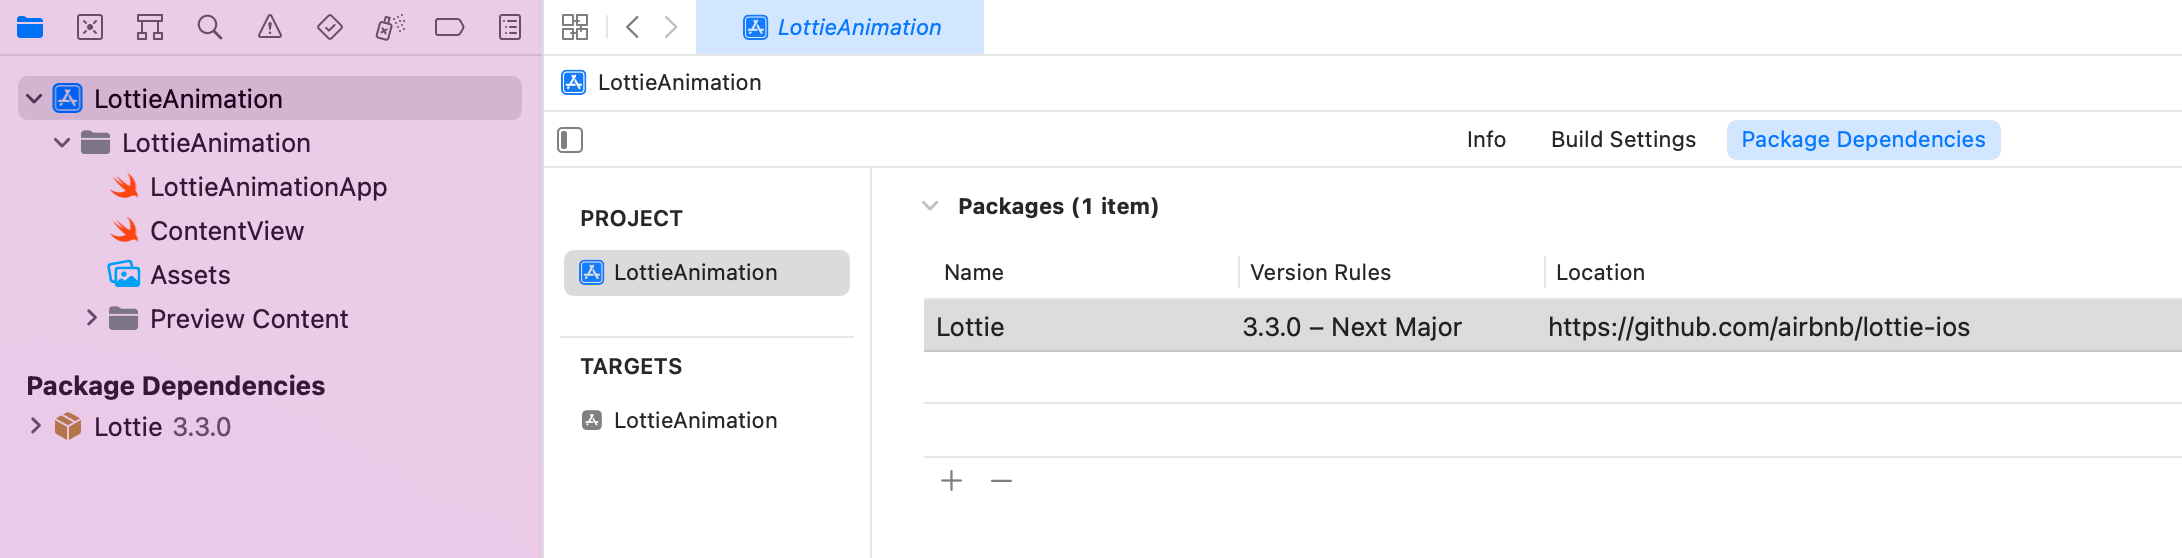
Click on the Add Package deal button. Xcode will then routinely obtain the Lottie library and add it to the undertaking.
Importing Lottie Information to the Xcode Mission
I’ve downloaded the following free animation on LottieFiles.com. The Lottie animation is out there in a number of file codecs. Please select the Lottie JSON possibility.
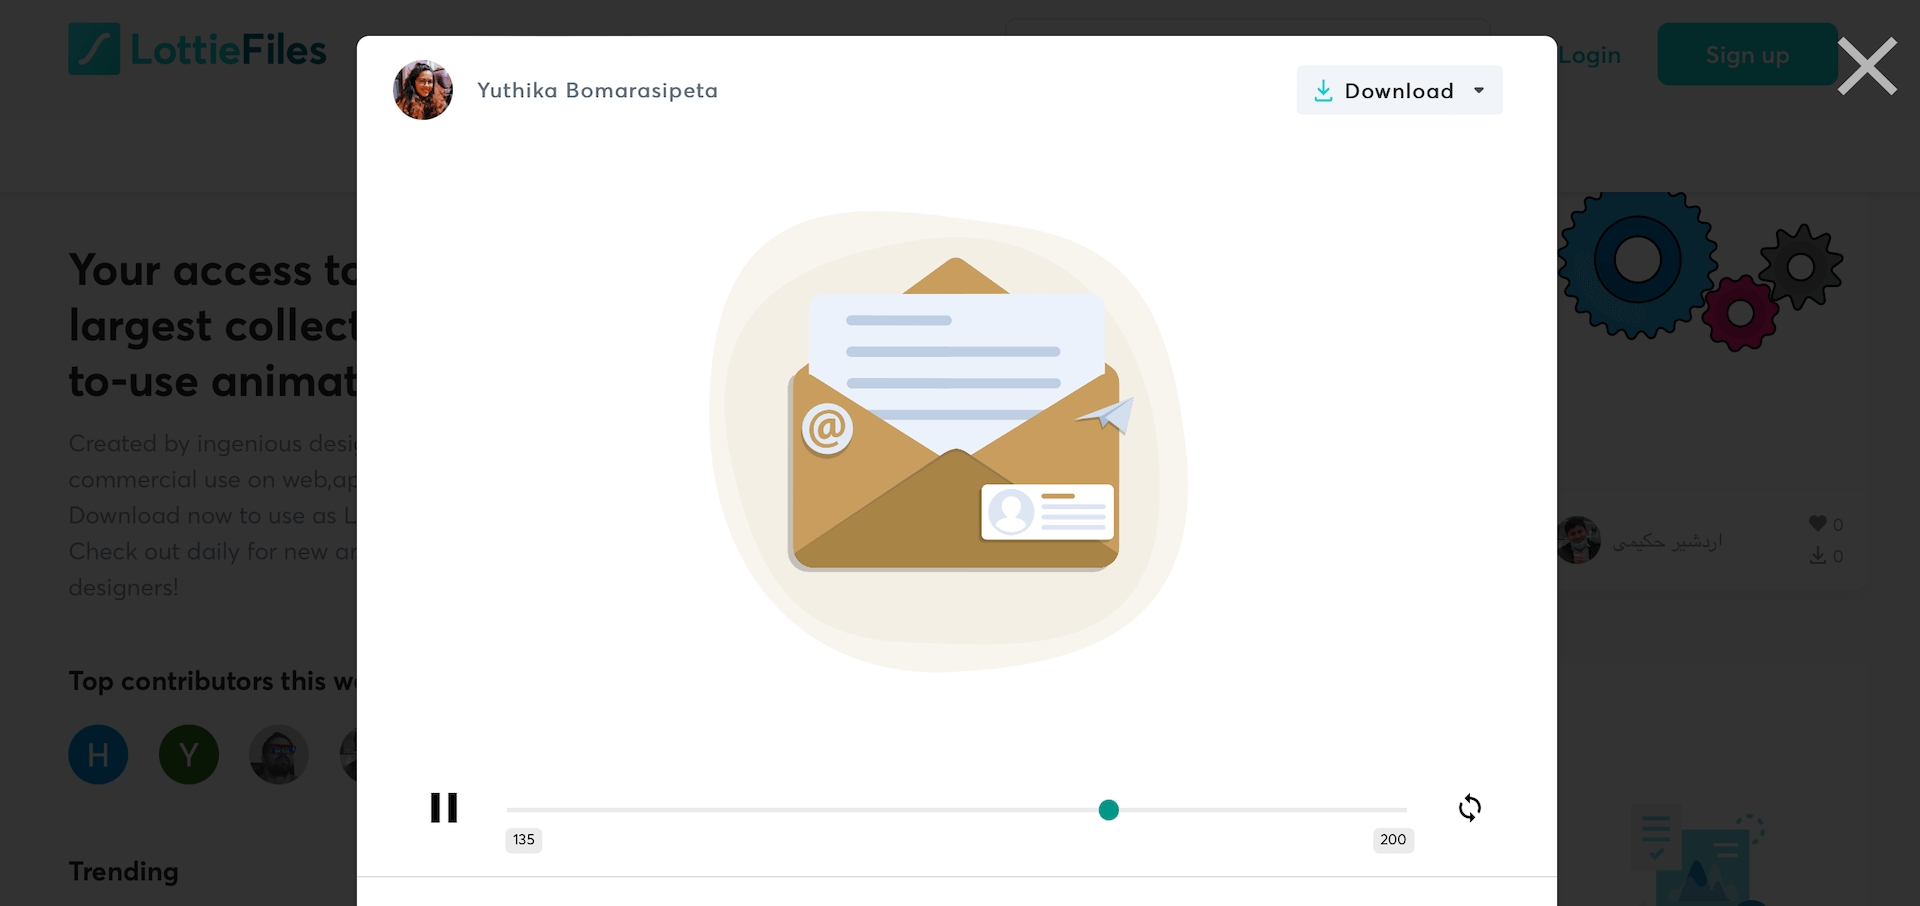
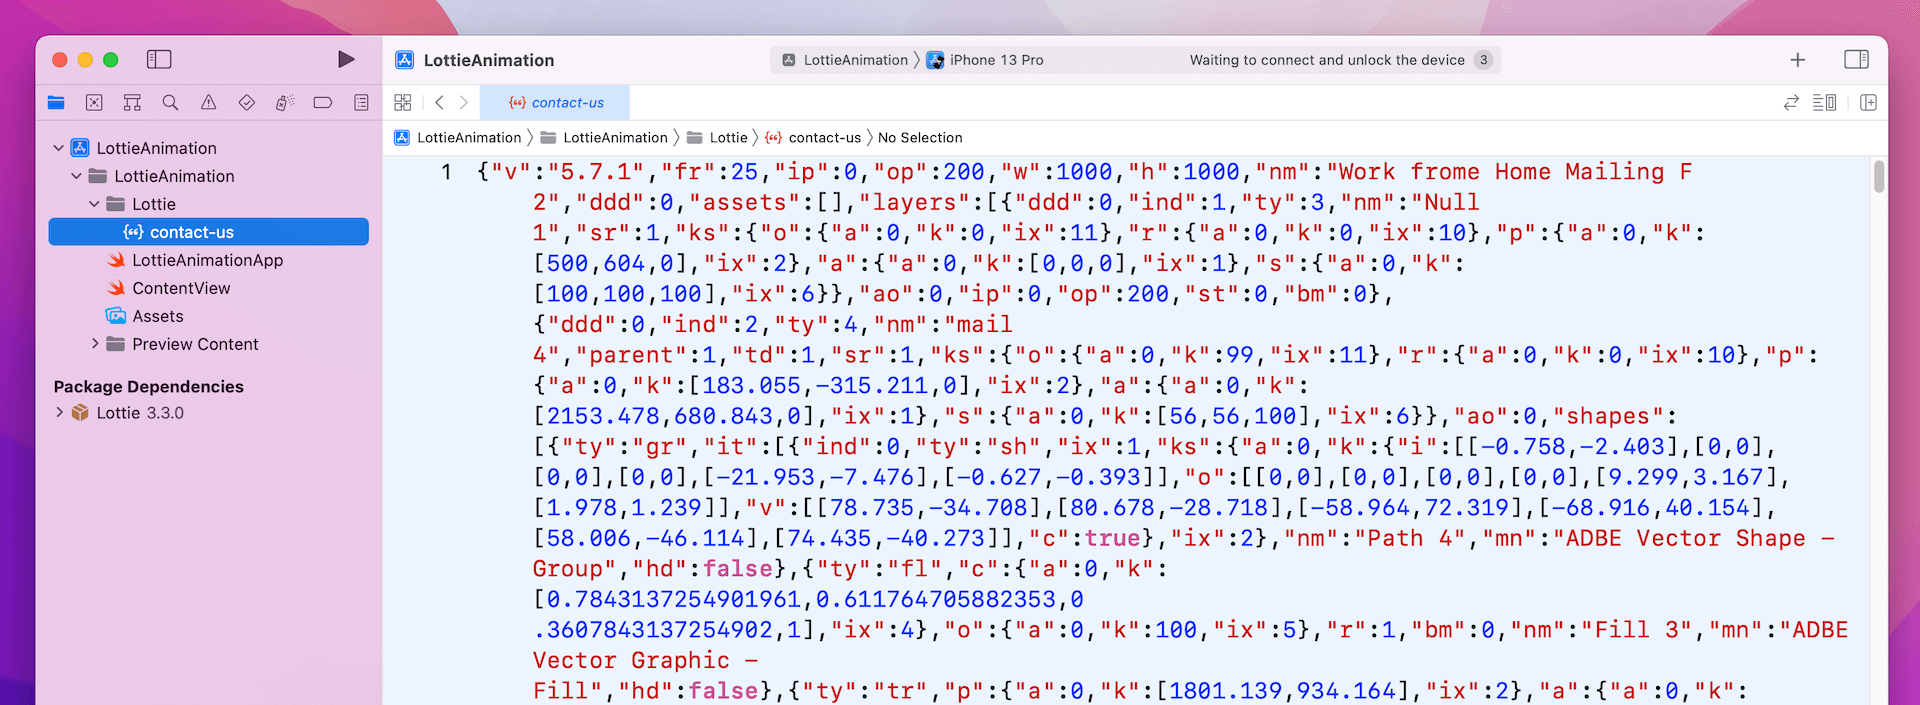
As soon as downloaded, return to the Xcode undertaking. Drag the JSON file (i.e. contact-us.json) to the undertaking navigator.
Utilizing the Lottie File in SwiftUI
It now involves the coding half. If you happen to’ve learn my earlier Lottie tutorial, you must know that it takes lower than 10 strains of code to load the animation. Right here is the pattern code snippet for loading the Lottie animation:
|
let animationView = AnimationView() animationView.animation = Animation.named(lottieFile) animationView.play() |
Easy, proper? Nonetheless, because the Lottie library doesn’t assist SwiftUI natively, we have to wrap its UIKit view with the UIViewRepresentable protocol to make it work in SwiftUI tasks.
Now head again to your Xcode undertaking and create a brand new file utilizing the Swift file template. Title the file LottieView.swift and replace its content material like this:
|
1 2 3 4 5 6 7 8 9 10 11 12 13 14 15 16 17 18 19 20 21 22 23 24 25 26 27 28 |
import SwiftUI import Lottie
struct LottieView: UIViewRepresentable { let lottieFile: String
let animationView = AnimationView()
func makeUIView(context: Context) –> some UIView { let view = UIView(body: .zero)
animationView.animation = Animation.named(lottieFile) animationView.contentMode = .scaleAspectFit animationView.play()
view.addSubview(animationView)
animationView.translatesAutoresizingMaskIntoConstraints = false animationView.heightAnchor.constraint(equalTo: view.heightAnchor).isActive = true animationView.widthAnchor.constraint(equalTo: view.widthAnchor).isActive = true
return view }
func updateUIView(_ uiView: UIViewType, context: Context) {
} } |
The LottieView struct has a property for holding the title of the lottie file. Within the makeUIView perform, it masses the JSON file and units the animation to the animation property of the animationView. Optionally, we set the content material mode to .scaleAspectFit.
To play the animation, we name the play methodology of the animation view. The remainder of the code is for configuring the structure constraints of the view.
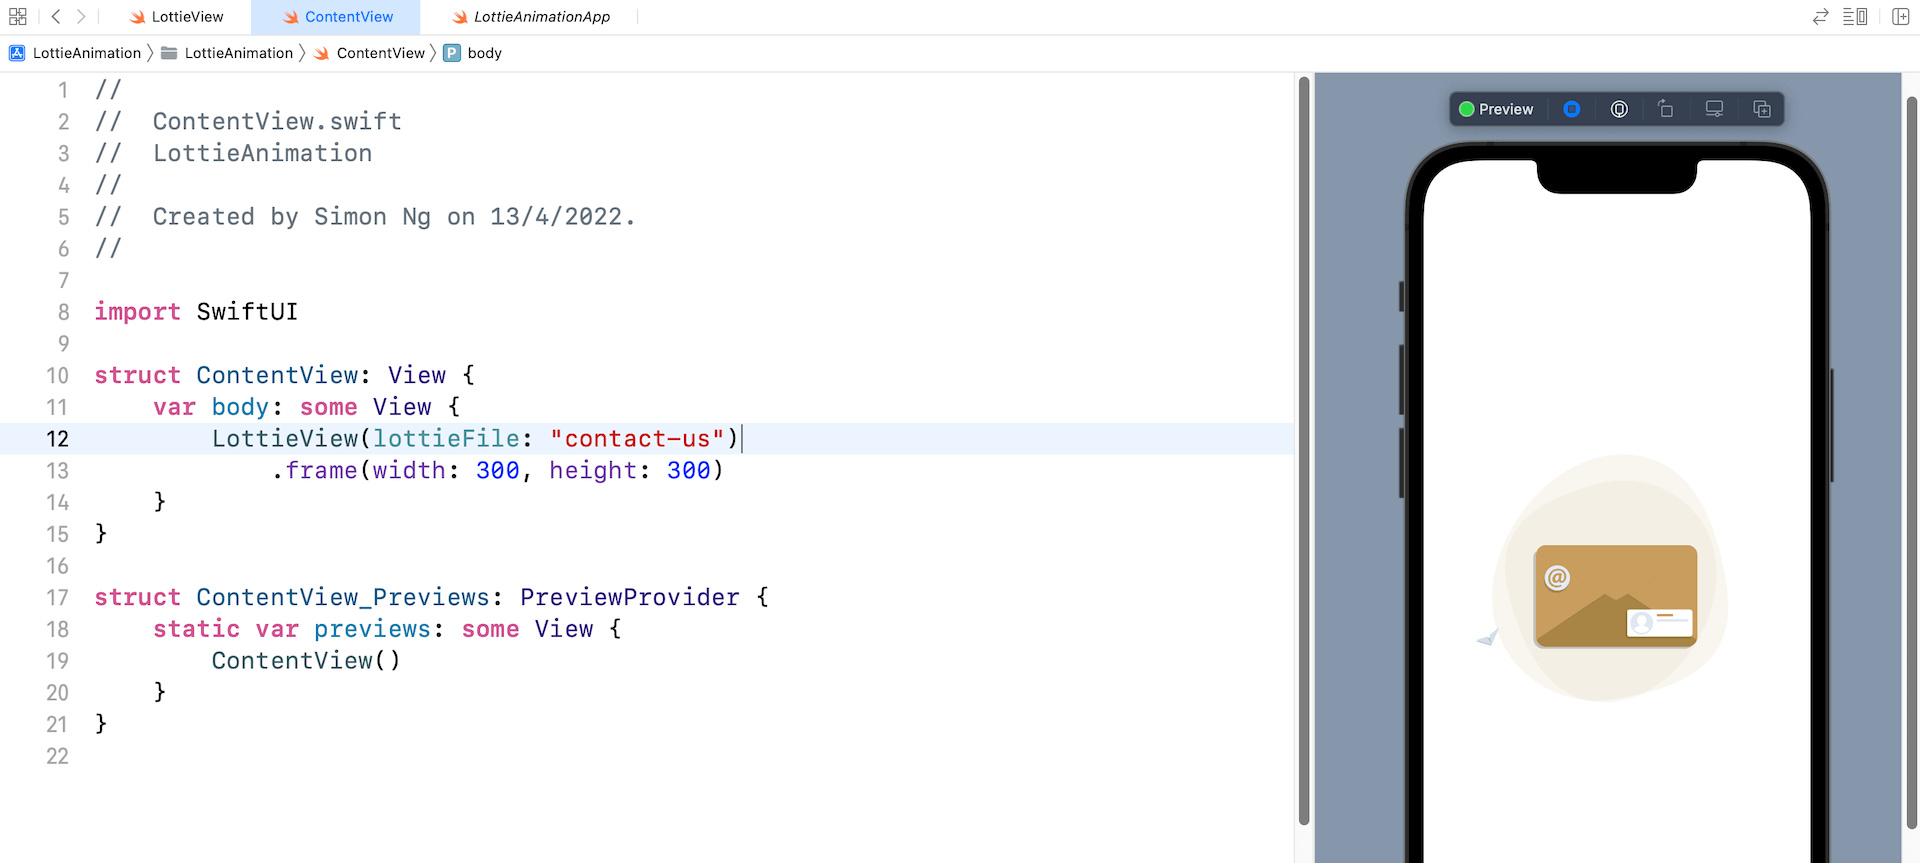
Now let’s head again to ContentView.swift to make use of the LottieView. Within the physique half, insert the next strains of code:
|
LottieView(lottieFile: “contact-us”) .body(width: 300, peak: 300) |
You simply must go LottieView the title of the Lottie file with out the file extension. Right here, it’s contact-us. And, we set the body dimension to 300×300 factors.
That’s it! Within the preview pane, you must see a picture. If you happen to click on the Play button, it renders the animation.
Customizing the Animation
Did you discover that the animation solely performed as soon as? The AnimationView object supplies a few properties for builders to customise the playback of the animation. To maintain taking part in the animation, you may set the loopMode property to .loop like beneath:
|
animationView.loopMode = .loop |
If you wish to auto reverse the animation, you may set the worth to .autoReverse.
You can even management the pace of the animation by altering the worth of the animationSpeed property:
|
animationView.animationSpeed = 3.0 |
This may triple the pace of the animation.
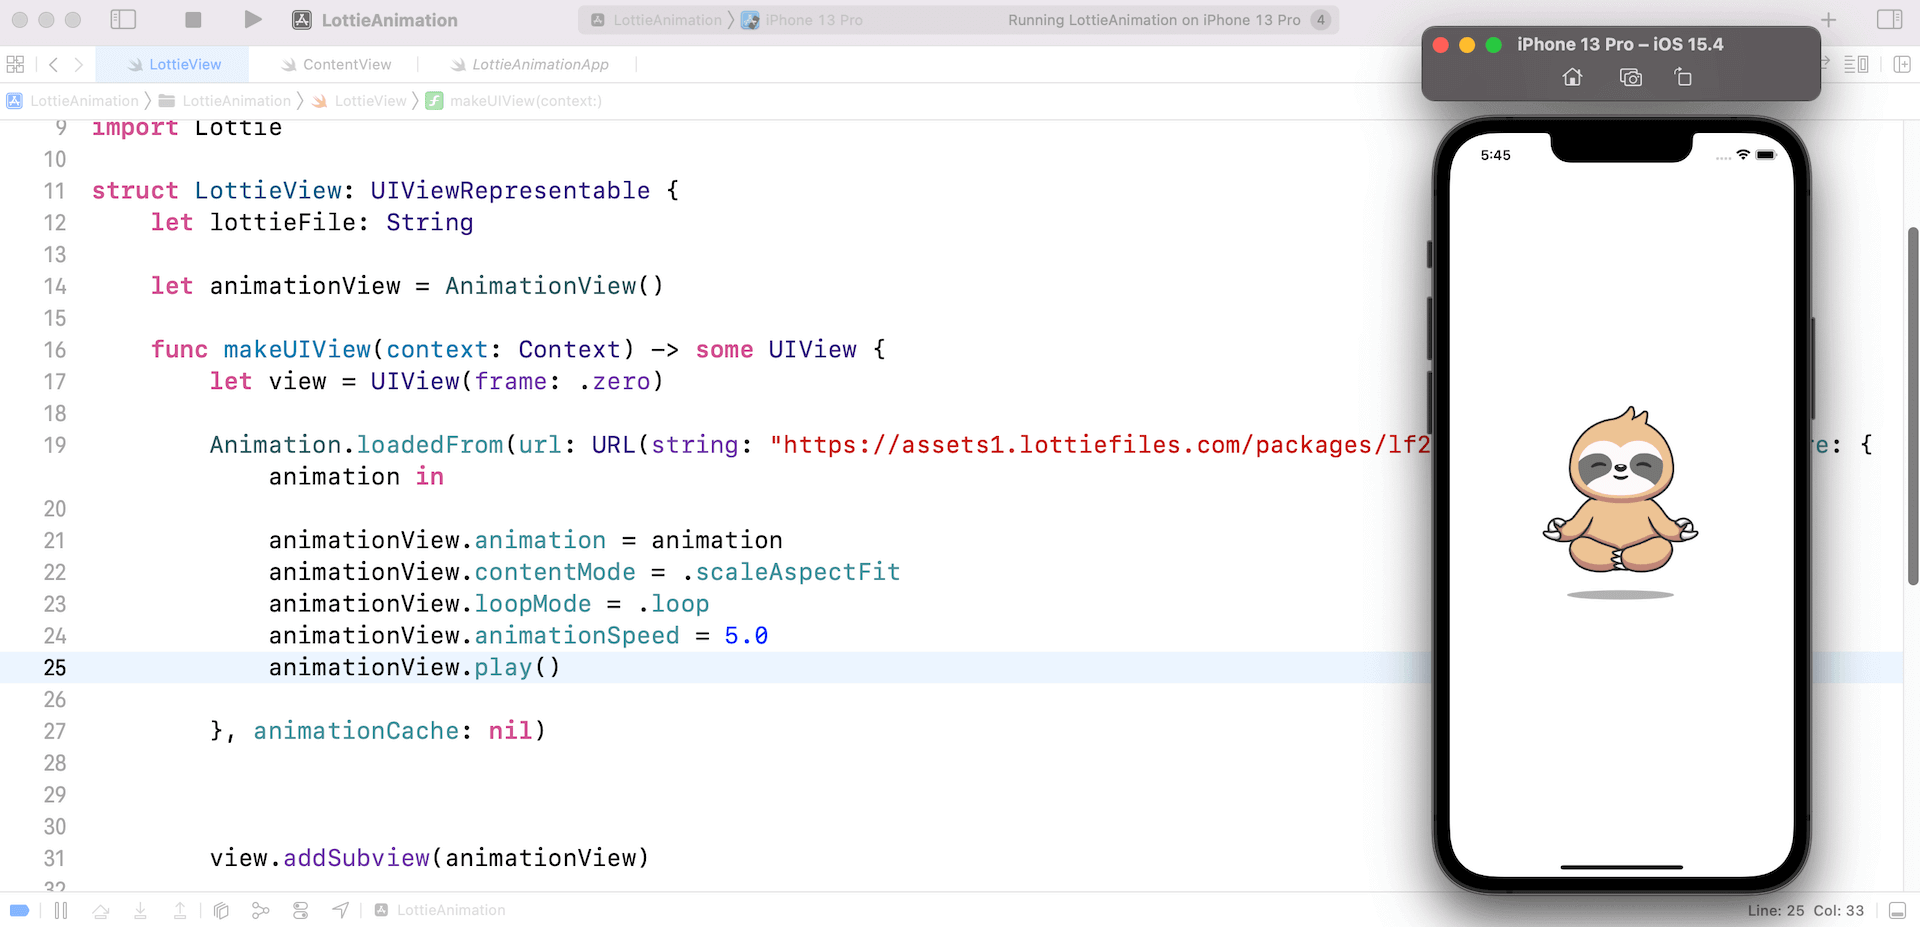
Loading the Animation Remotely
It’s not necessary to retailer the Lottie file regionally. The Animation object helps you to load a Lottie animation from a distant server. Right here is an instance:
|
Animation.loadedFrom(url: URL(string: “https://assets1.lottiefiles.com/packages/lf20_kd5rzej5.json”)!, closure: { animation in
animationView.animation = animation animationView.contentMode = .scaleAspectFit animationView.loopMode = .loop animationView.animationSpeed = 5.0 animationView.play()
}, animationCache: nil) |
As an alternative of utilizing the named methodology, you should use the loadedFrom methodology of Animation to load a distant URL. The Animation object will deal with the file obtain and allow you to know when the animation is prepared to be used within the closure.
Abstract
The SwiftUI framework already makes it simple to create wonderful view animations. With the Lottie library, it’s even simpler to include stunning animations in your apps. I hope you discover this tutorial useful. If you happen to’re desirous about studying extra about SwiftUI animations, you may take a look at our Mastering SwiftUI e-book.

