
[ad_1]
 Supply: Christine Romero-Chan / iMore
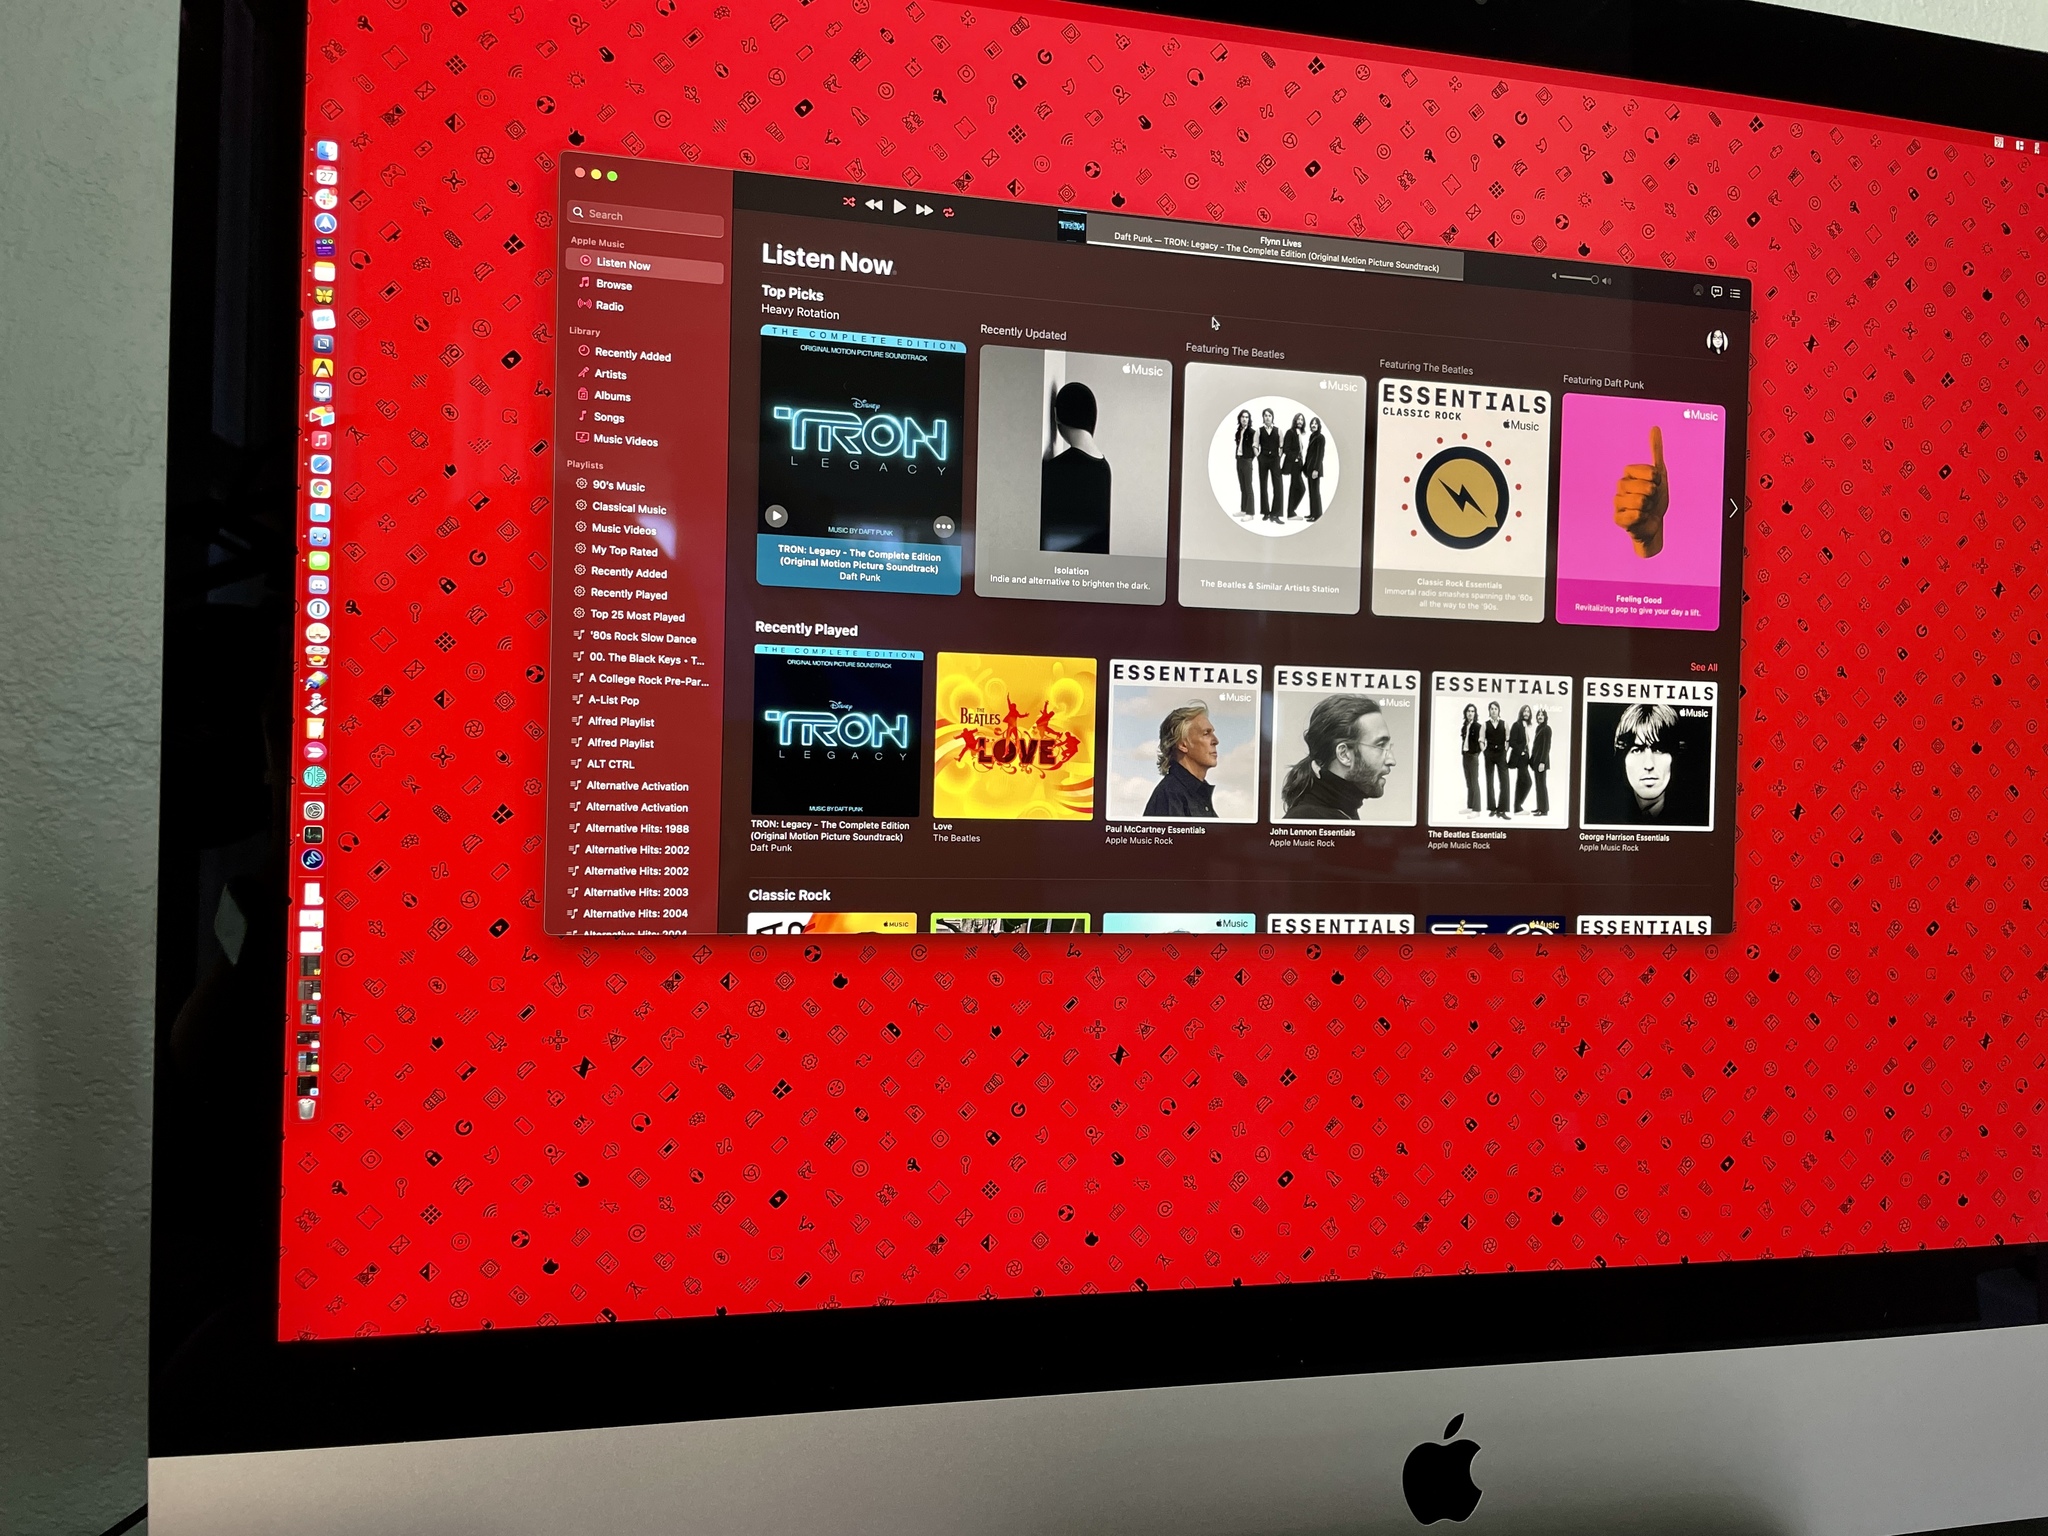
Whereas streaming music appears to be all the craze lately, nothing actually beats truly proudly owning your music. You will have acquired an enormous assortment of hundreds of songs in your MacBook or iPhone over time, so that you positively wish to just be sure you again up your iTunes Library or Music Library, because it’s referred to as now in macOS.
Whether or not you might be nonetheless listening to your digitally ripped CD assortment from highschool or streaming the most recent hits on Apple Music with iCloud Music Library, you will wish to guarantee that every little thing is backed up and secure. Nothing is worse than dropping your favourite tunes due to a mistake. Listed here are just a few alternative ways to again up your iTunes library.
First, make certain your total library has been regionally downloaded
If you happen to use iCloud Music Library or the iTunes Retailer, you will have some or all your music saved within the Cloud. However to really guarantee that your bought and owned content material is backed up, you will wish to obtain a neighborhood copy of all your music to your Mac.
To obtain particular gadgets in your iCloud Music Library proper now to your Mac’s drive, do the next:
-
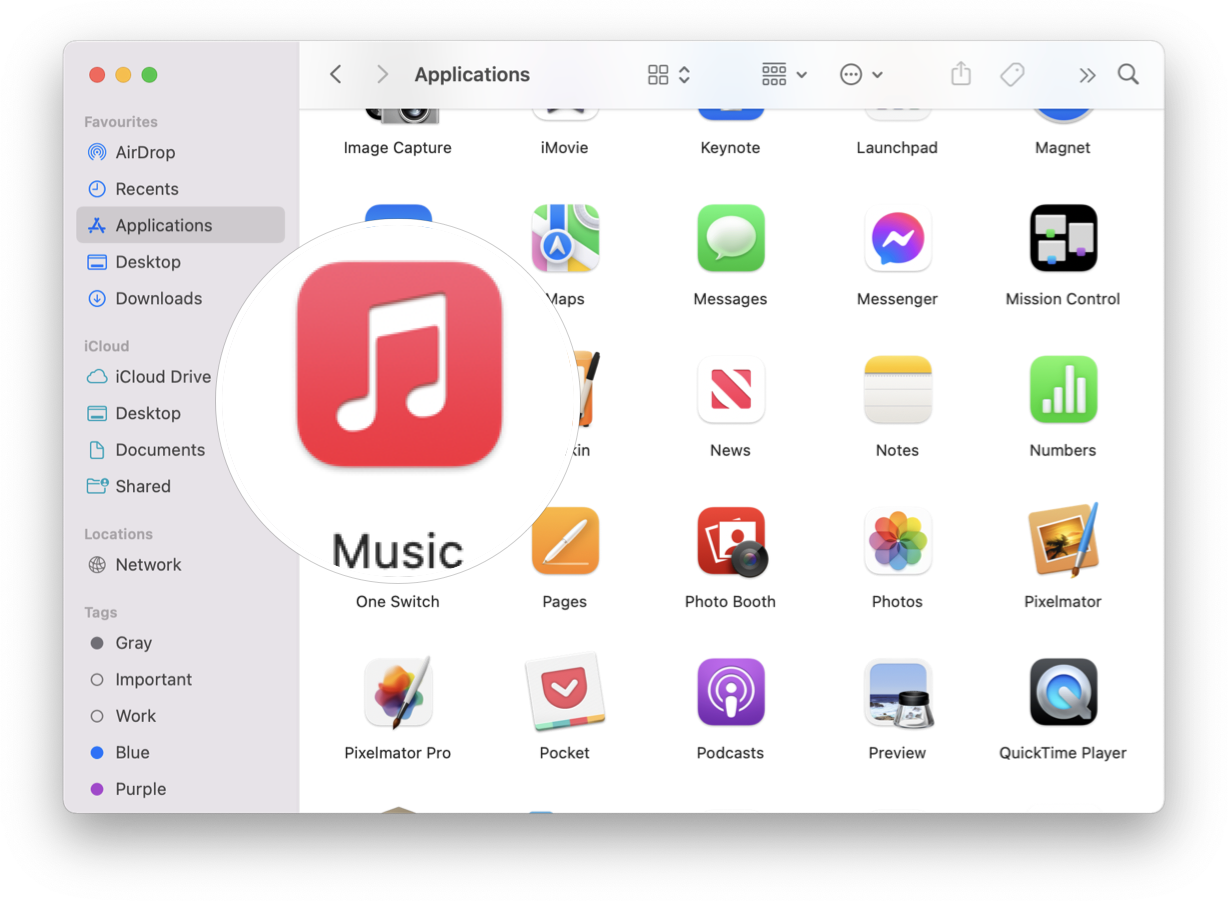
Launch Music (or iTunes on Mojave and earlier) in your Mac.

 Supply: iMore
 -
Discover the Artist, Albums, or Songs that you simply wish to obtain.
Tip: In any of those views, you’ll be able to hit ⌘A to pick all.
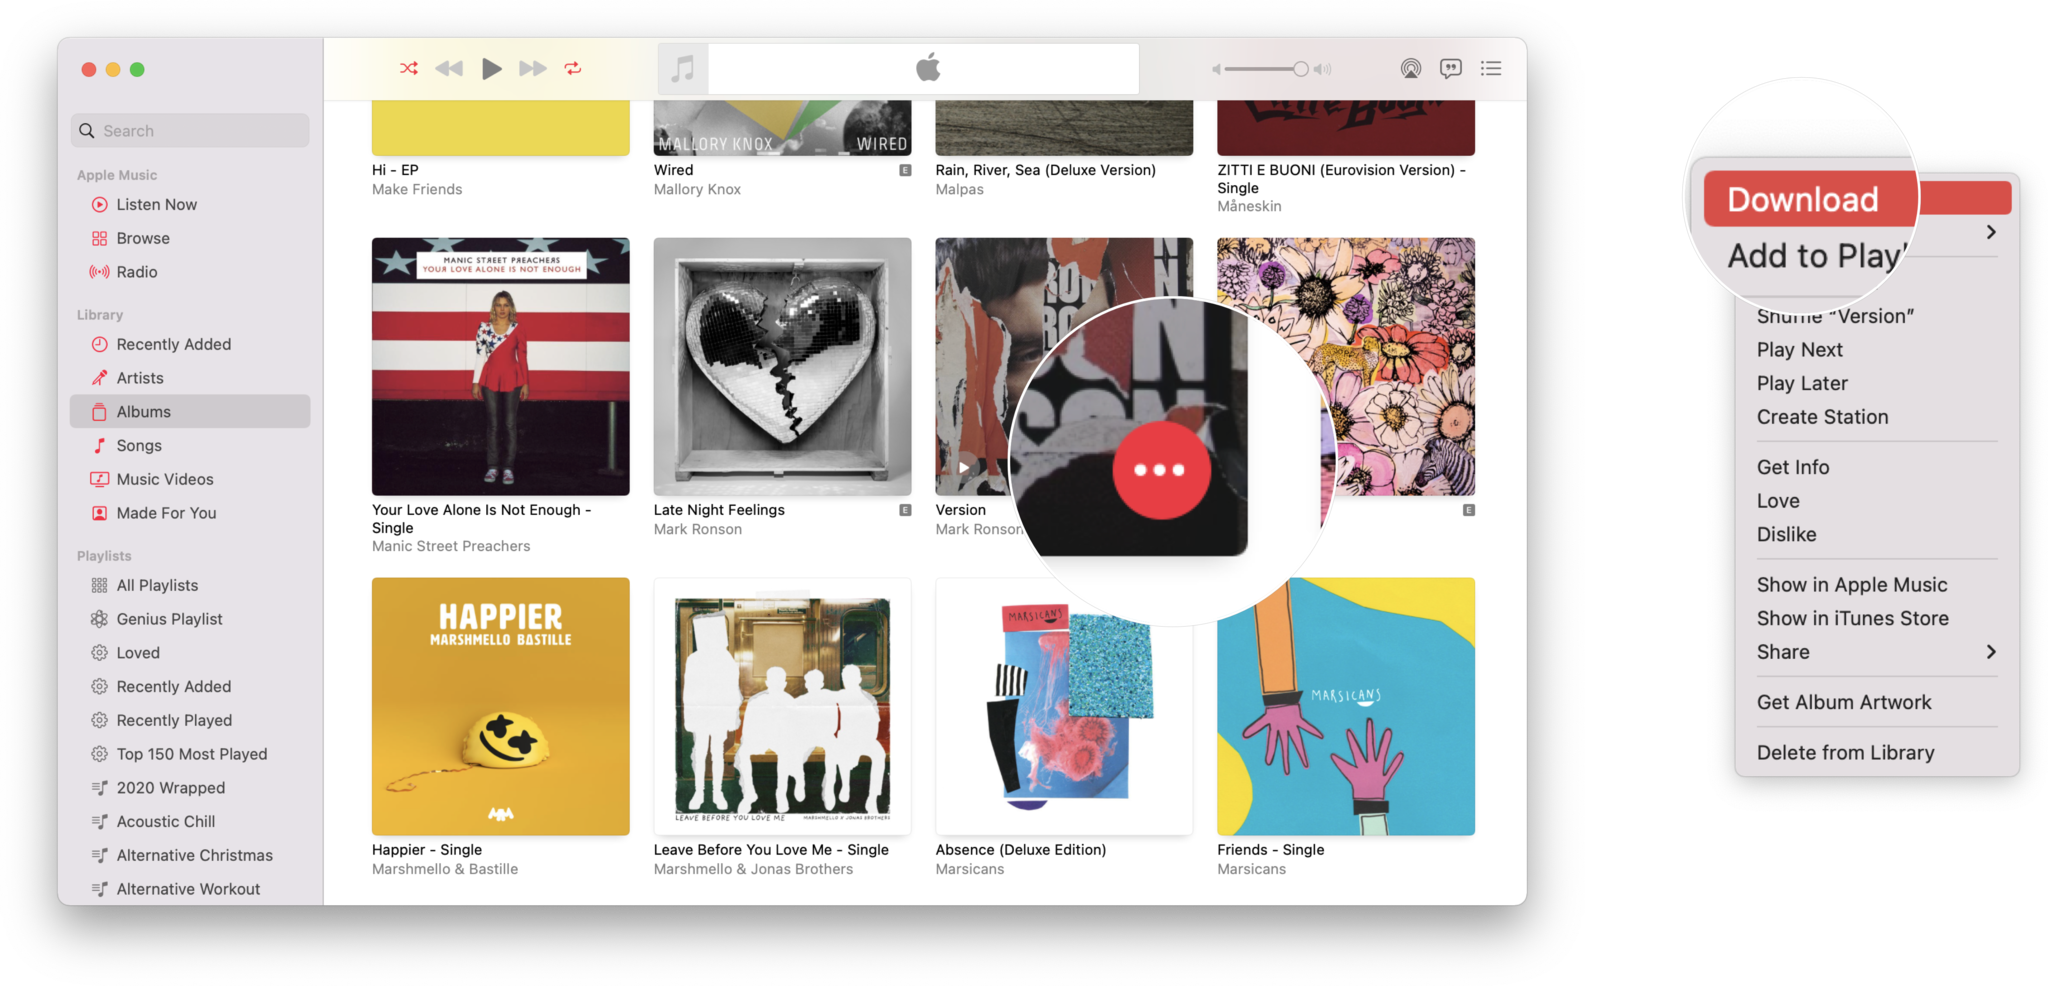
- Click on the ••• button to carry up a pop-up menu. Alternatively, you’ll be able to Management-click or use the secondary click on you have got arrange in your mouse or trackpad.
-
Click on Obtain to provoke the obtain of this stuff.

 Supply: iMore
And if you wish to begin routinely downloading every little thing that you simply add to your Apple Music library from this level ahead, then it is simple peasy! Here is how:
-
Launch Music (or iTunes on macOS Mojave and earlier) in your Mac.
Supply: iMore - Click on Music within the menu bar.
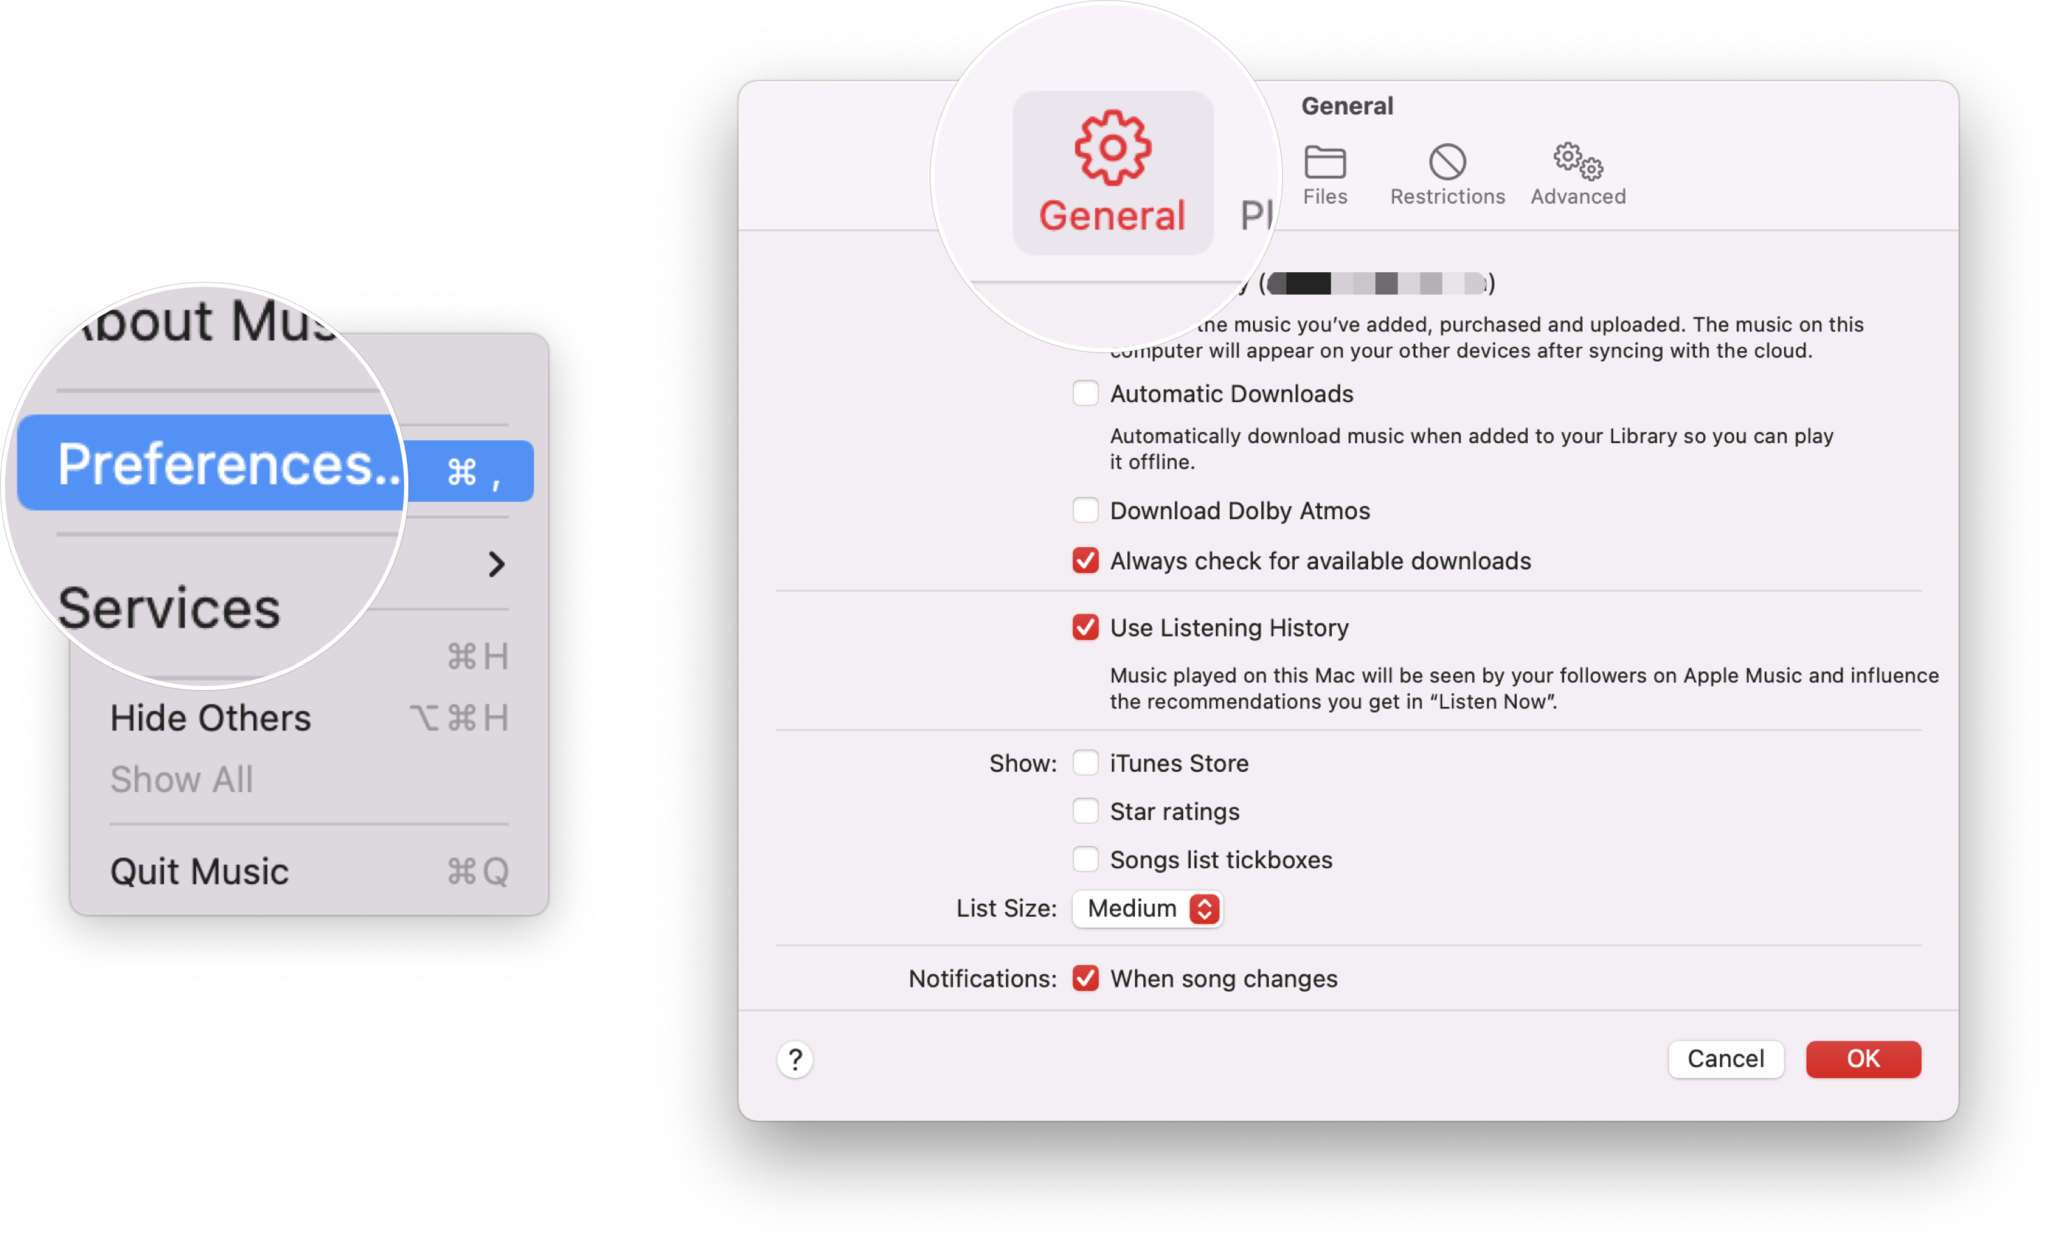
- Click on Preferences (or press ⌘, on the keyboard).
-
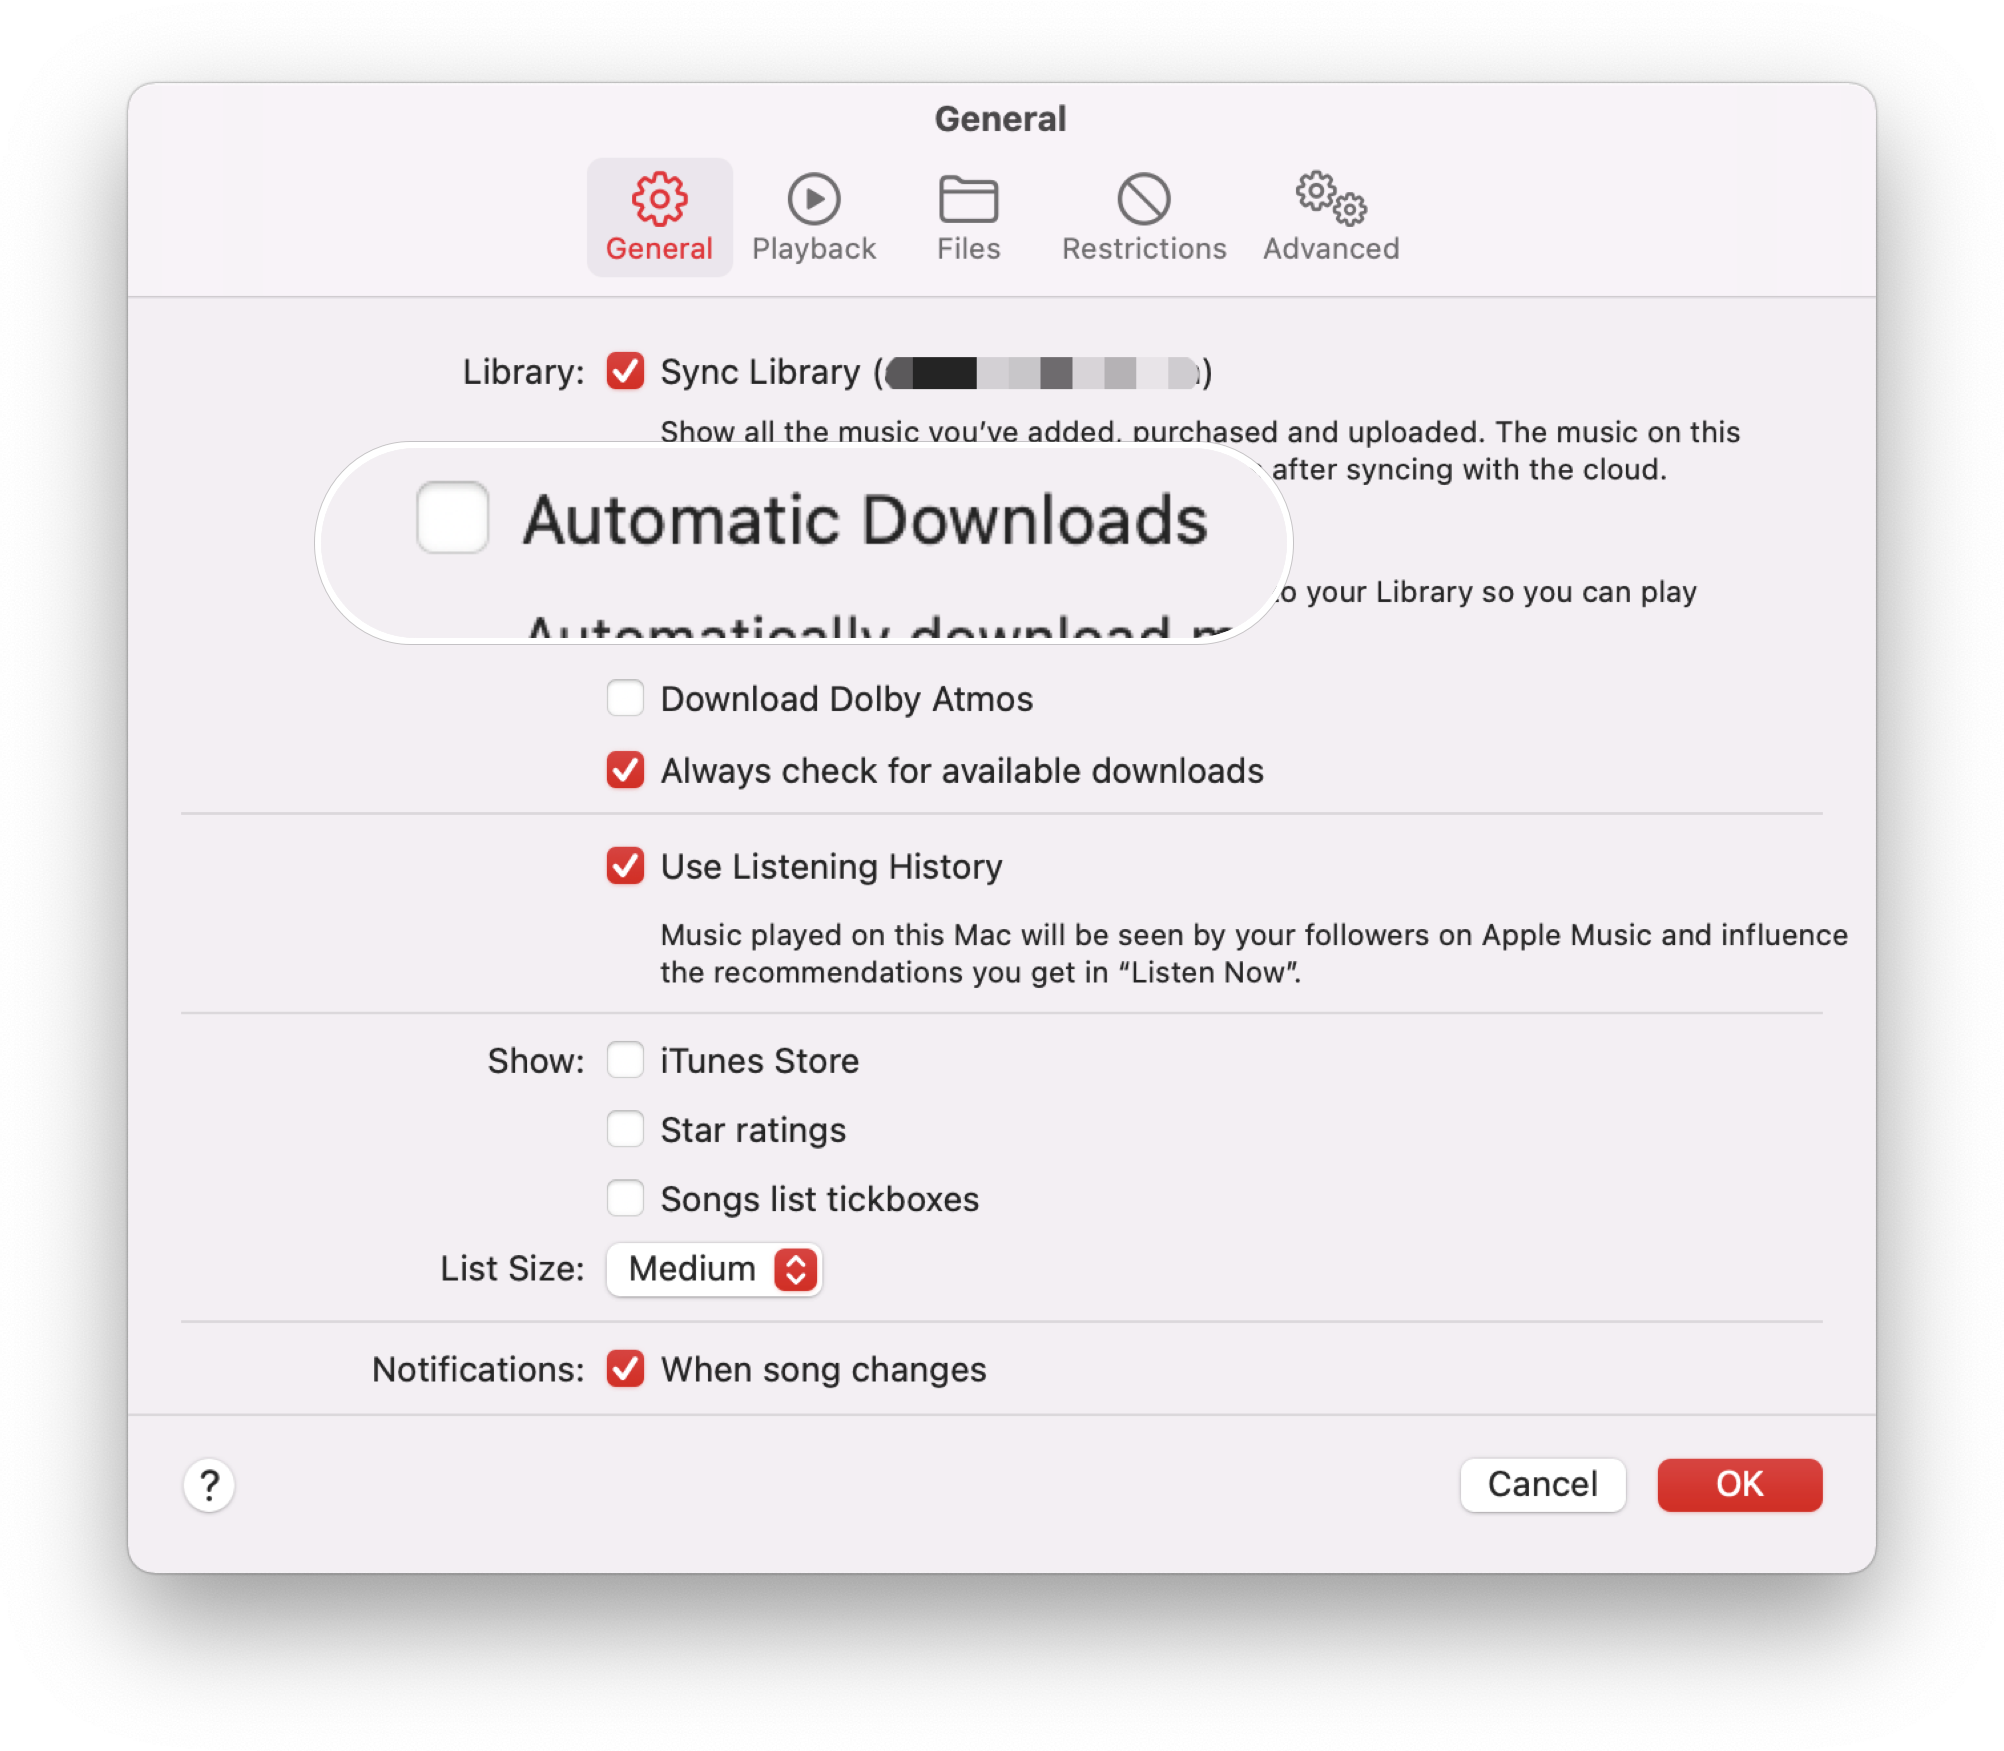
Be sure you’re within the Common tab.

 Supply: iMore
 -
Click on the field for Automated Downloads to show it on.

 Supply: iMore
As soon as that’s turned on, any music you add to your Apple Music library shall be downloaded routinely to your Mac’s exhausting drive.
Find out how to again up iTunes Library through Time Machine or one other backup service
One of many best methods to guarantee that your iTunes or Music Library is all the time backed up is to make use of Time Machine, which is already built-in to your Mac. With this function enabled, you’ll be able to routinely again up and restore your Mac with Time Machine and any of the greatest USB-C exterior exhausting drives. The restore performance allows you to bounce again in Time Machine’s historical past to retrieve it.
However Time Machine might not be sufficient. We additionally suggest having an offsite backup plan in your Mac as effectively, simply in case one thing like a hearth occurs, and also you lose your exterior exhausting drive.
Find out how to manually again up your iTunes library
If you happen to’re not using a Mac-wide backup service (actually, although, you need to get on that), or if you wish to manually again up your iTunes library individually, here is find out how to go about doing that:
Consolidate your library
To make sure that all of your iTunes information are in the identical place once you make a guide backup, you need to first consolidate your iTunes library.
- Be sure you’ve downloaded a neighborhood copy of your music to your Mac.
-
Launch Music (or iTunes in macOS Mojave or earlier) in your Mac.
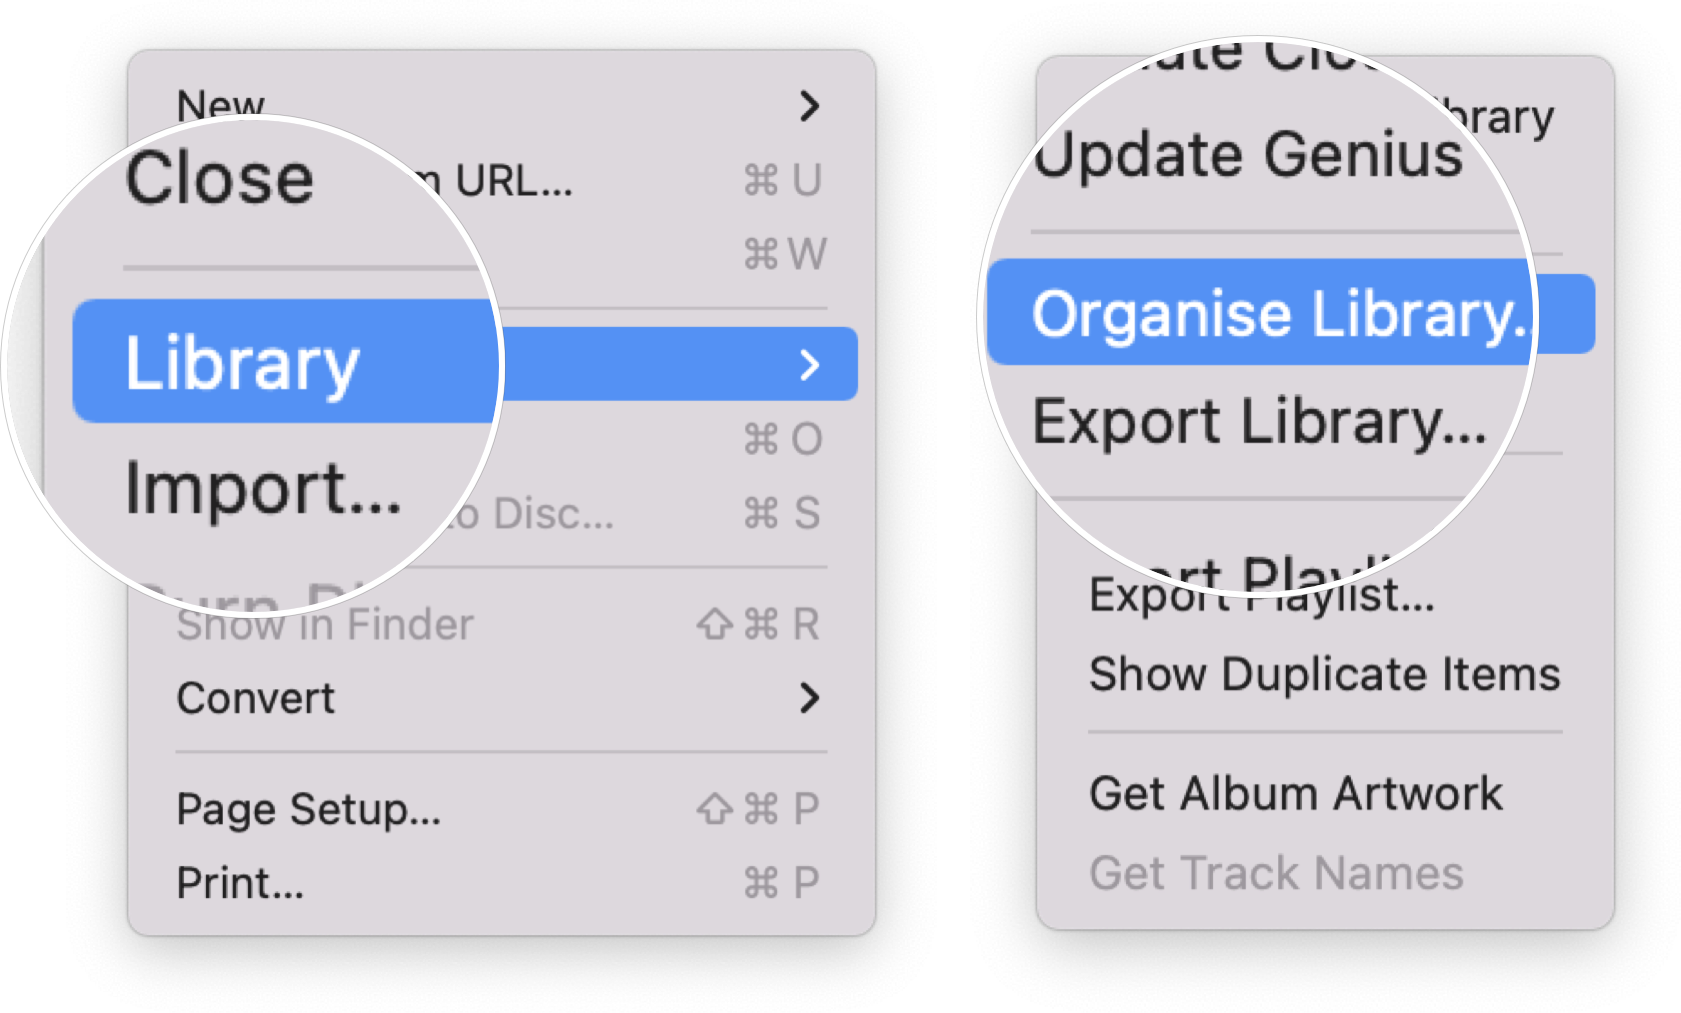
Supply: iMore - Click on File within the higher left nook of your Mac’s display screen.
- Hover your cursor over Library within the drop down menu.
-
Choose Manage Library from the secondary menu.

 Supply: iMore
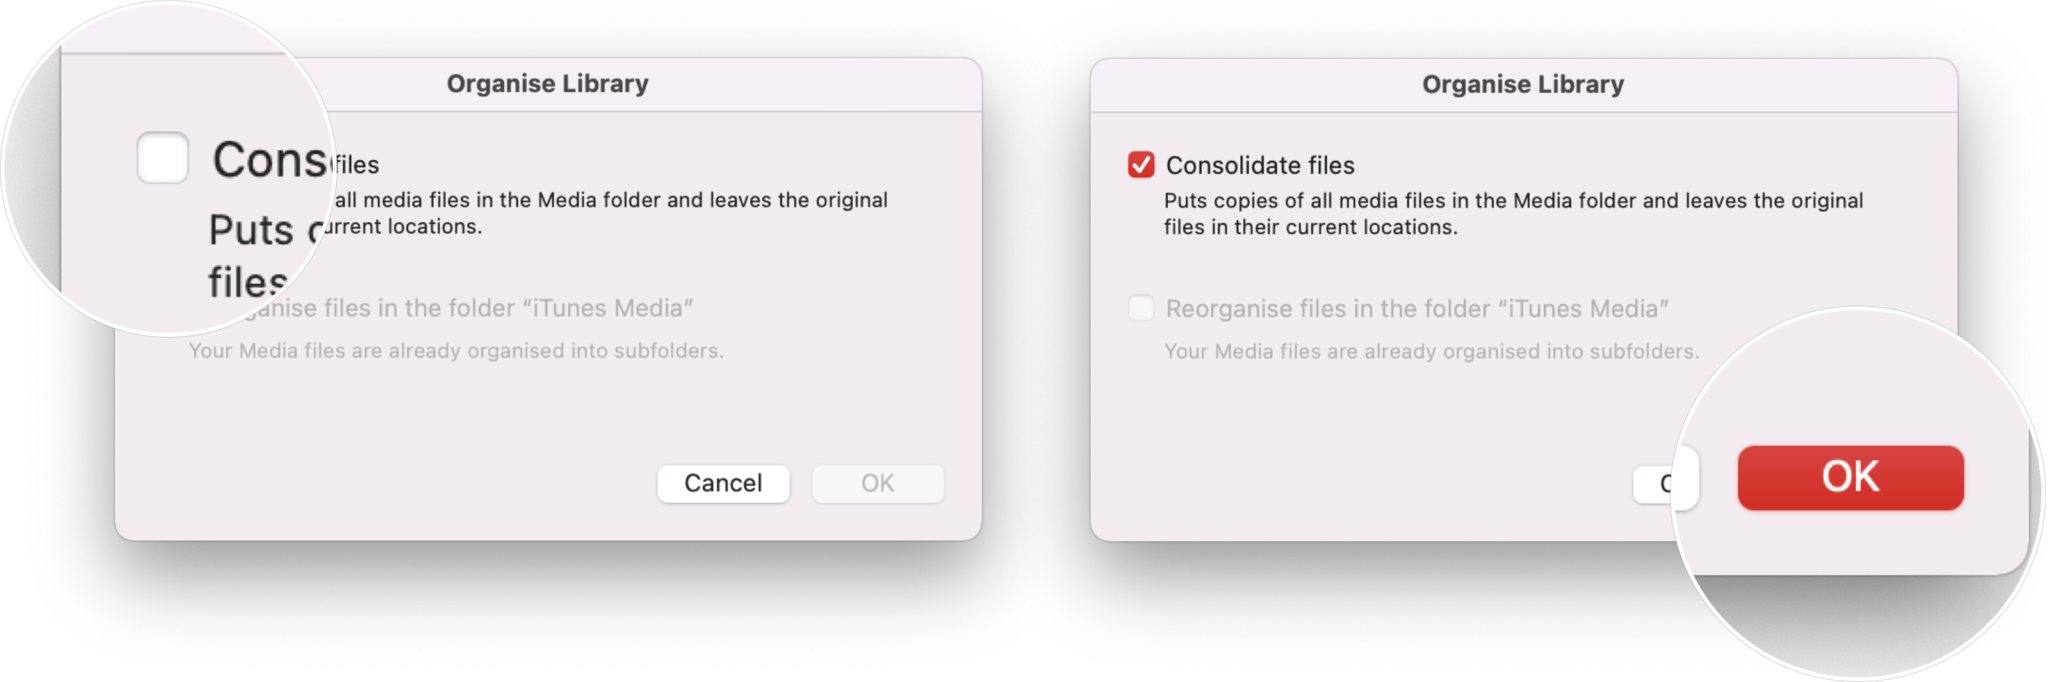
 - Tick the field for Consolidate Information when the Manage Library window seems.
-
Click on OK.

 Supply: iMore
This can make a replica of all information within the iTunes media folder, leaving the originals of their present location.
Copy your iTunes library to a backup supply
- If you’re utilizing an exterior exhausting drive, join it to your Mac utilizing a USB cable.
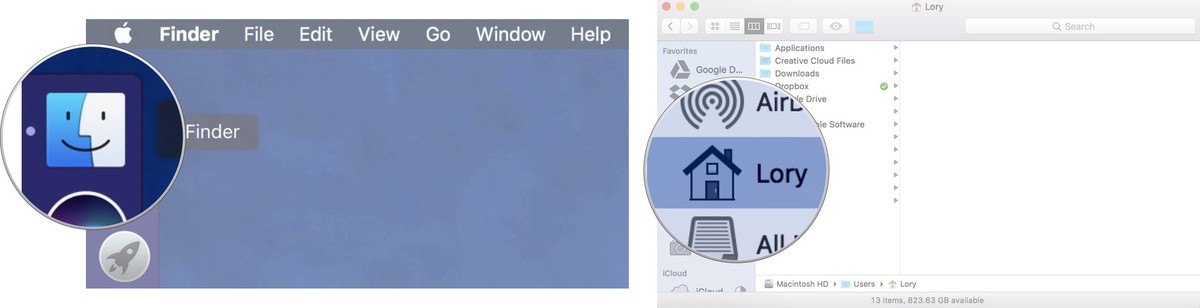
- Click on on Finder to open a Finder window.
-
Choose your Mac’s Exhausting drive.

 Supply: iMore
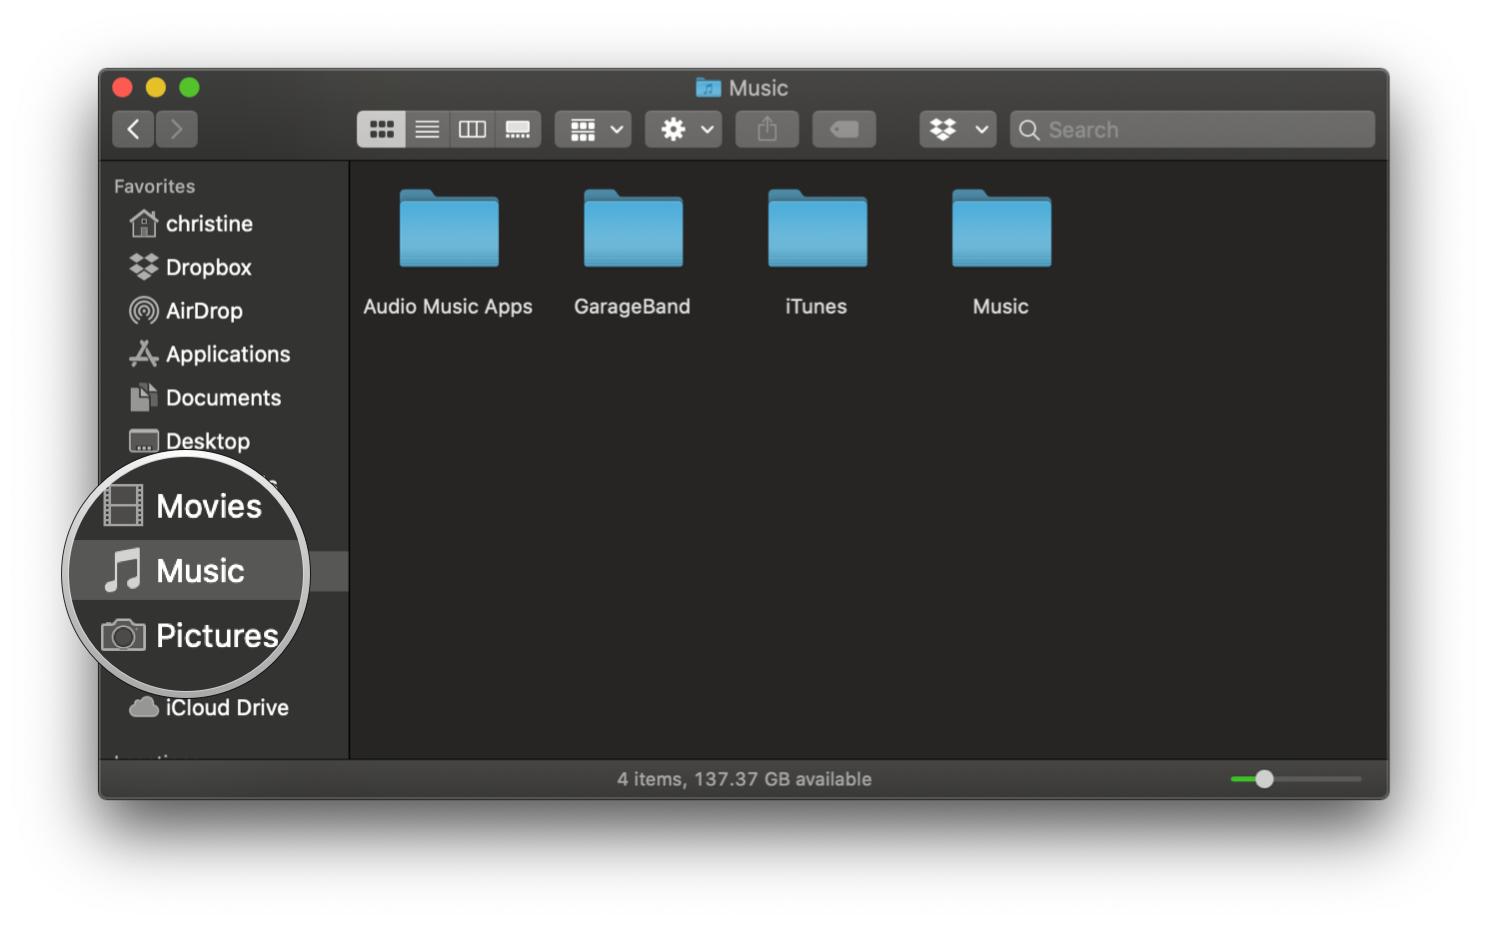
 - Click on on Music within the sidebar. If Music just isn’t in your sidebar, simply drag-and-drop the Music folder to the sidebar.
-
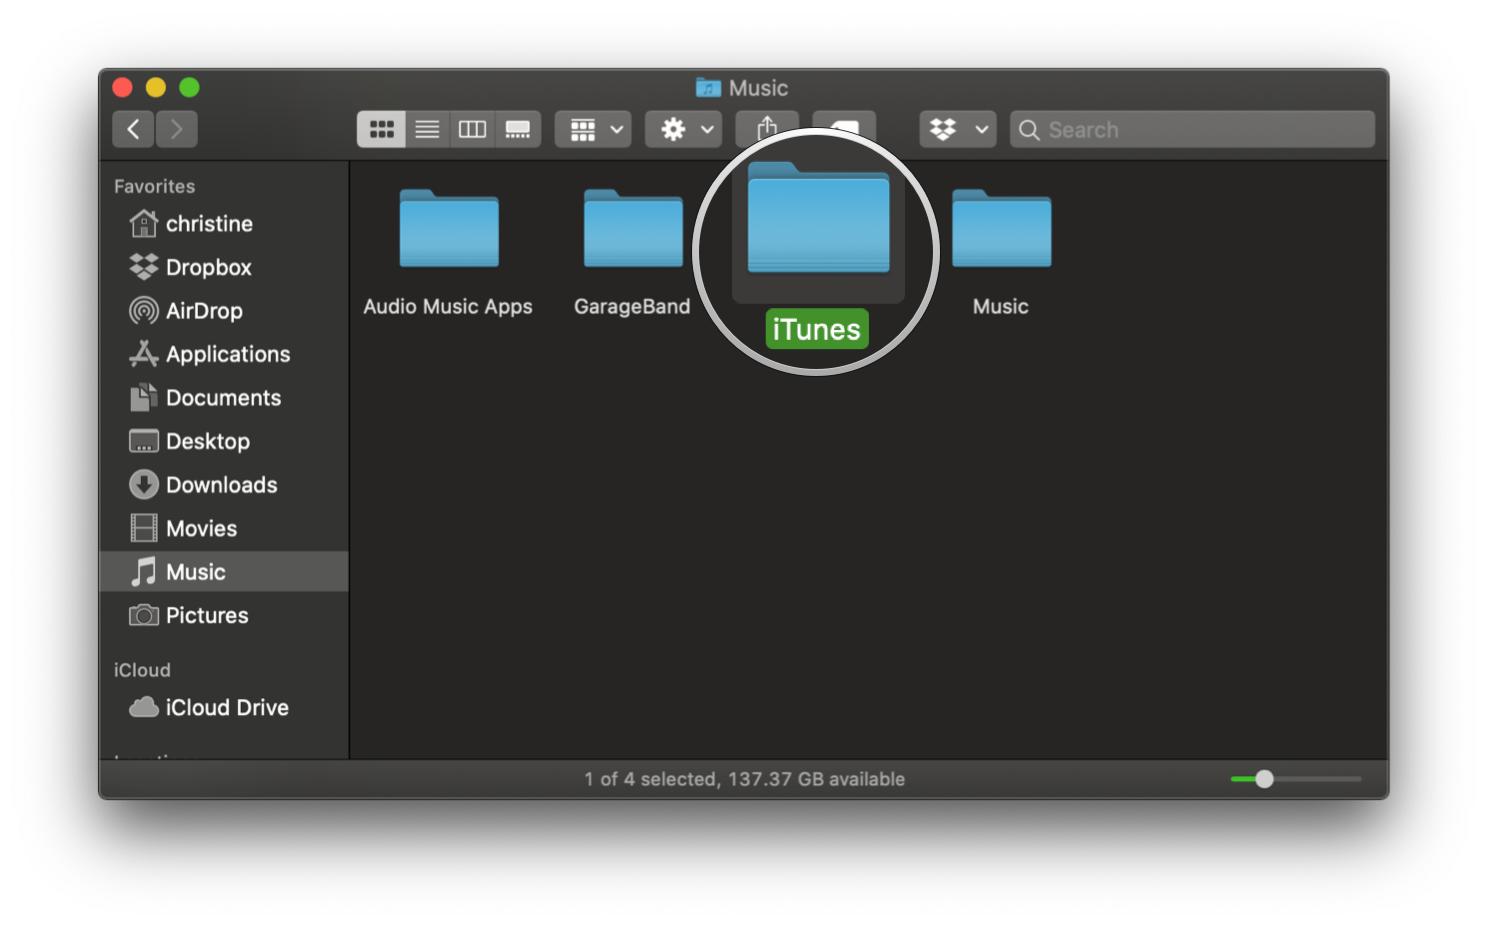
Choose the Music folder (or iTunes on macOS Mojave and earlier) and drag that folder to the exterior exhausting drive icon in your desktop or copy it to your on-line backup service.

 Supply: iMore
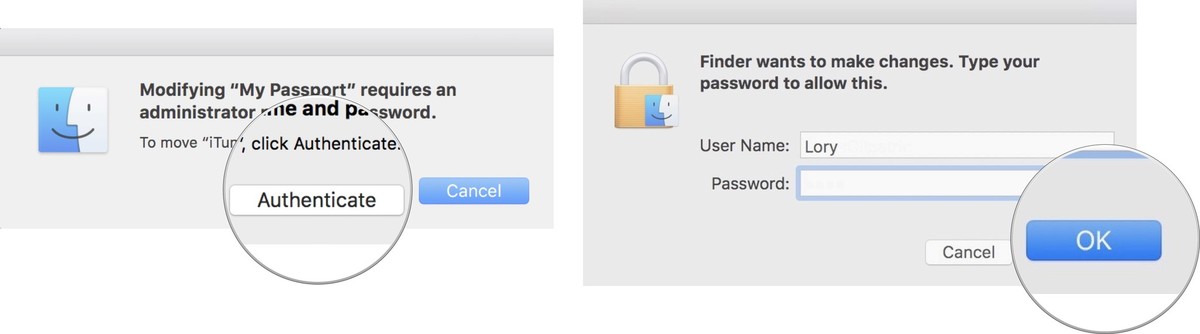
 - Click on Authenticate, if prompted, to present permission to make a replica of the iTunes folder.
- Enter your administrator password.
-
Click on OK.

 Supply: iMore
The copy course of will start. This might take a very very long time, relying on how huge your Music/iTunes library is. So, sit again, loosen up, watch a film, or no matter you do to cross the time.
Determined occasions name for determined measures
If you’re about to do one thing wild together with your Music or iTunes library and haven’t got a method to again it up on an exterior exhausting drive or on-line backup service, you can also make a non permanent backup that you simply retailer proper in your Mac by duplicating your library. That is, under no circumstances, a strong backup plan, however it may be helpful in a pinch.
Word: After making a replica, it’s a good suggestion to maneuver the copied folder to an easy-to-find location that’s separate from any folder you intend to make modifications to (just like the Music folder). This copied folder ought to be deleted instantly after it’s not wanted as a result of it takes up further house in your laptop’s exhausting drive unnecessarily and will trigger confusion together with your most present Music or iTunes folder.
- Click on on Finder to open a Finder window.
-
Choose your Mac’s Exhausting drive.
Supply: iMore -
Click on on Music within the sidebar.
Supply: iMore - Proper-click or control-click on the Music folder (or iTunes folder if you happen to’re nonetheless on macOS Mojave or earlier).
-
Choose Duplicate from the popup menu.
-
Transfer the copied iTunes or Music folder to a brand new, easy-to-find location.
- Delete the copied iTunes or Music folder when you not want the non permanent backup.
Get to backing up
If you happen to’ve received an enormous music library, you need to have the ability to take that with you once you improve your units so it is a terrific thought to again it up. It is also prudent to take action in case of theft, catastrophe, or mechanical failure. Hopefully the above information may have your music assortment backed up very quickly.
Up to date March 2022: Up to date for macOS Monterey.
[ad_2]